
How to Diagnose and Perform Effective HVAC System Repair
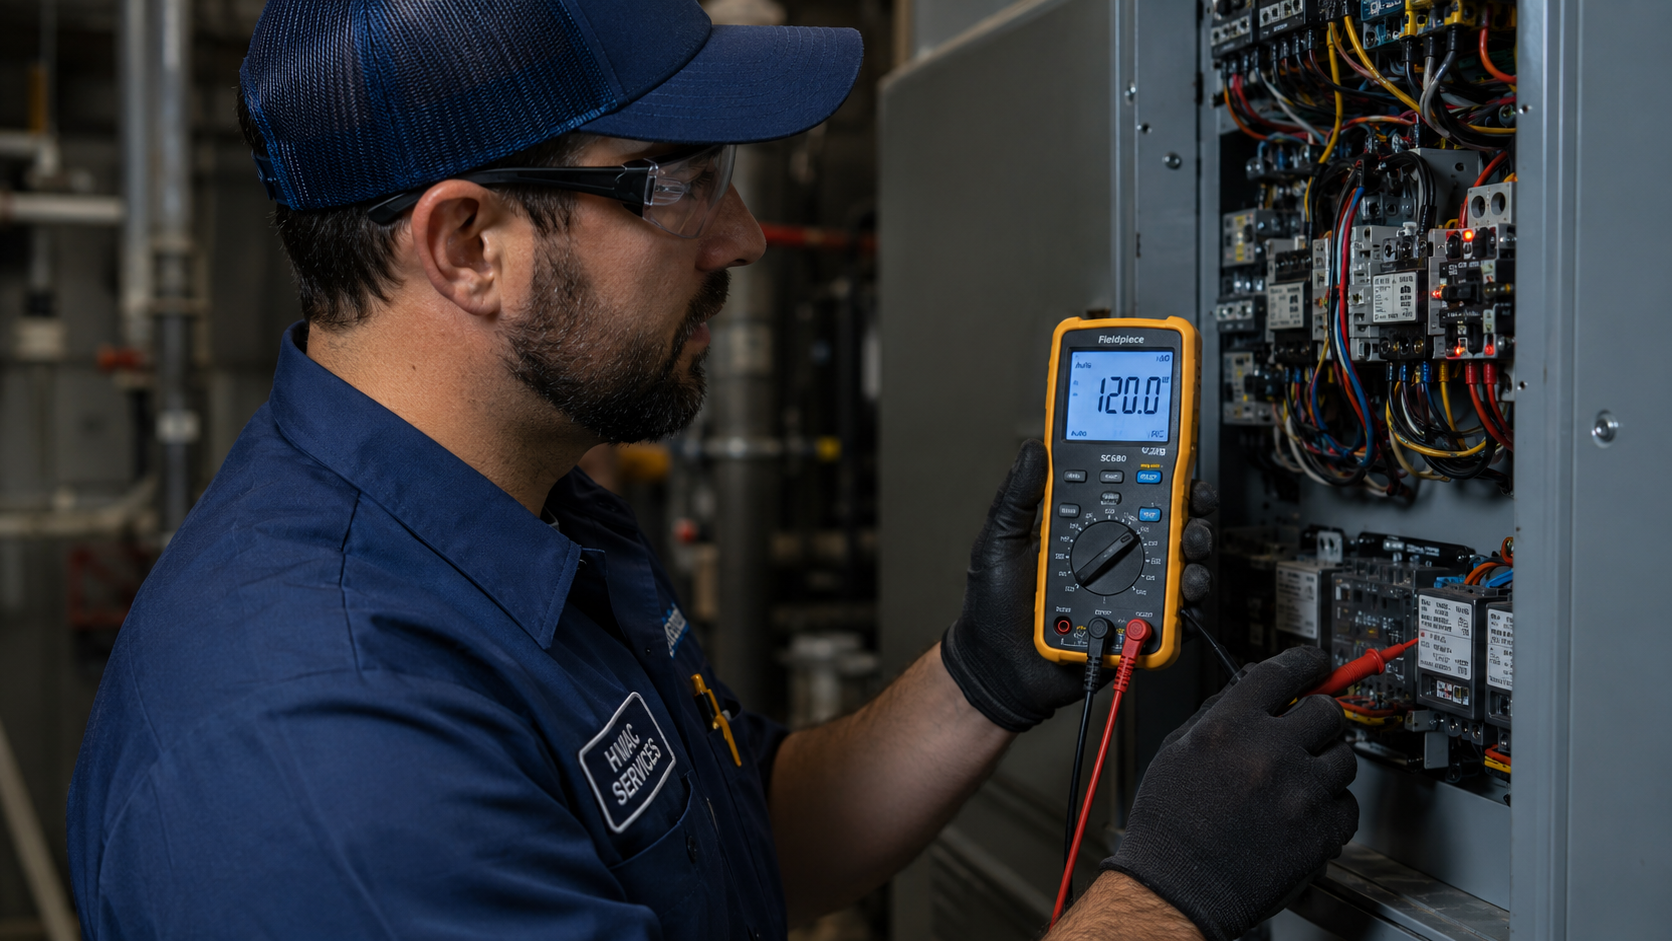
An HVAC system rarely fails without warning. Most breakdowns follow a pattern of declining performance — reduced airflow, inconsistent temperatures, unusual sounds — that diagnosis catches early. Knowing how to read those signals lets you triage problems faster and hand off the right information to a technician.
This guide walks through the steps of commercial HVAC diagnosis. Some checks you can perform yourself. Others require a licensed technician with specialized tools and EPA certification. We'll be clear about which is which throughout.
Commercial HVAC diagnosis matters because misdiagnosis is expensive. A technician who swaps parts without isolating the root cause delivers a short-term fix. It often leads to repeat failure within weeks. According to the U.S. Department of Energy, a well-maintained commercial HVAC system can be 15–40% more efficient than a neglected one. Systematic diagnosis is how you protect that efficiency — and your budget.
What Effective HVAC Diagnosis Actually Means
Good diagnosis is not guessing. It's eliminating causes methodically until you identify the actual failure point. The best technicians work through a logical sequence. Check the control system before the hardware. Check simple hardware before complex hardware. Rule out maintenance issues before ordering parts.
That same sequence is what this guide follows. Work through the steps in order. Don't skip ahead to the refrigerant circuit if you haven't checked the thermostat. Many expensive service calls trace back to a dead battery or a tripped breaker.
Step 1: Start with the Control System
Most HVAC "failures" aren't mechanical at all. They're control system issues — a wrong thermostat setting, the wrong operating mode, dead batteries, or a tripped circuit breaker. These cause a significant share of unnecessary service calls across the industry.
Start at the thermostat. Verify it's set to the right mode (cooling, not heating). Confirm the setpoint is lower than the current room temperature. Confirm the fan is set to Auto, not On. If it's a battery-powered thermostat, swap the batteries before anything else.
Then go to the electrical panel. Look for a tripped breaker on the circuit feeding the HVAC system. Reset it once. If it trips again, stop. A recurring trip signals an overload, short circuit, or ground fault — not a simple reset situation. Also check the disconnect switch near the outdoor condenser unit; these are frequently left in the "off" position after maintenance.
Step 2: Inspect the Air Filters
A dirty air filter is the most common preventable cause of commercial HVAC inefficiency. ENERGY STAR estimates that clogged filters make HVAC systems work harder, driving up energy costs and accelerating component wear. In commercial kitchens, restaurants, and manufacturing environments, filters clog far faster than the manufacturer's default schedule assumes.
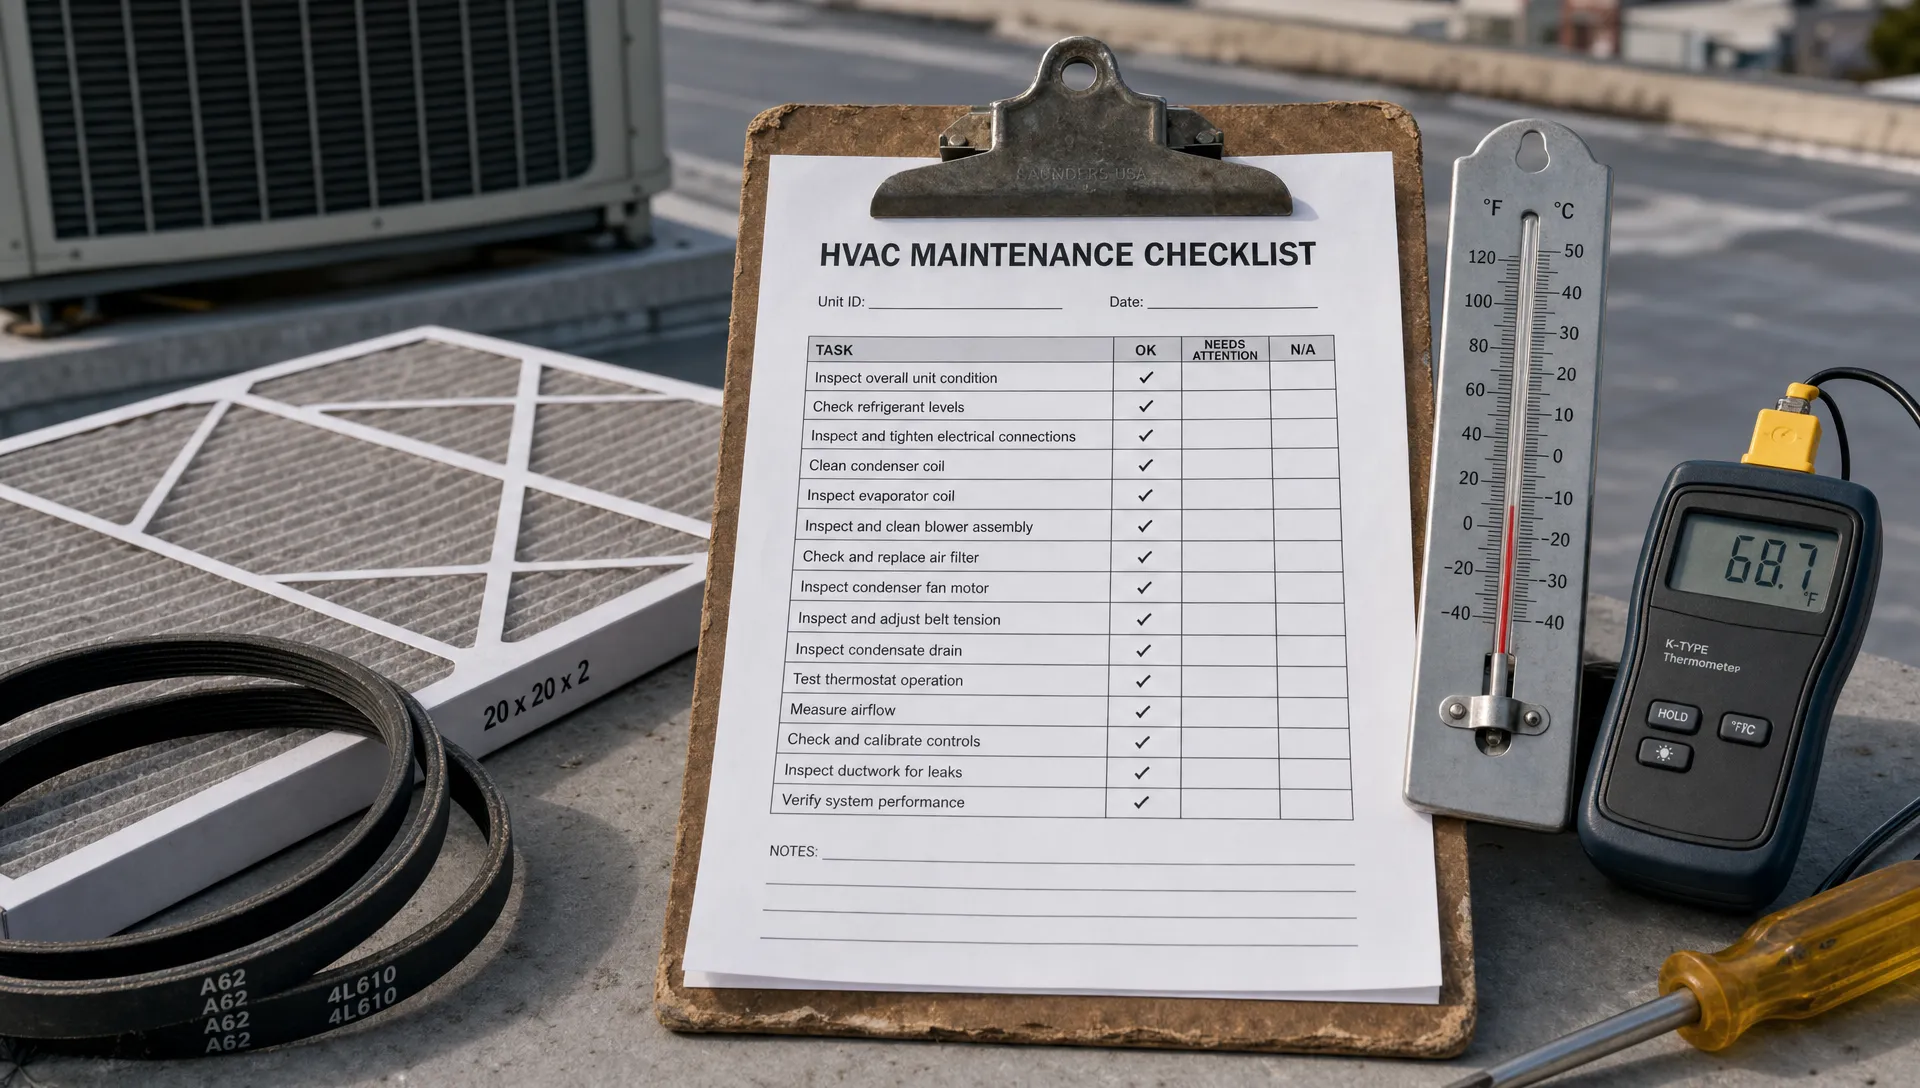
Check your filters monthly. Remove the filter and hold it up to a light source. If you can't see light through it, it needs replacing. Also check whether the filter has collapsed or pulled away from its frame. A compromised filter allows debris to bypass it and land directly on the evaporator coil.
For commercial systems running multiple zones, check every filter, not just the accessible ones. A single clogged filter in a multi-zone system can restrict enough airflow to trigger alarms across the whole building.
Step 3: Check the Outdoor Condenser Unit
The outdoor condenser is where your system expels heat from the building. If it can't reject heat effectively, the whole system suffers — regardless of how well everything else functions.
Clearance: The condenser unit needs at least 24 inches of unobstructed space on all sides. Vegetation, stored equipment, or debris against the unit restricts airflow and forces head pressure up. High head pressure strains the compressor and reduces cooling capacity.
Coil condition: Look at the coil face for bent fins, debris embedded between the fins, or a visible dirt coating on the surface. A heavily fouled condenser coil can meaningfully reduce system efficiency. Coil cleaning requires professional tools and should never be attempted with a pressure washer — the fins are fragile aluminum and bend easily.
Fan operation: With the system running, confirm the condenser fan is spinning. A failed fan motor causes the system to overheat and trip the compressor's thermal overload protection. The unit will appear to run but produce no cooling.
Disconnect box: Inspect the condenser disconnect box for burn marks or discoloration around the terminals. Do not open or touch the internal components unless you are a licensed electrician.
Step 4: Listen and Smell for Warning Signs
Your HVAC system communicates through sound and odor. Unusual outputs from a running system are diagnostic data, not background noise.
Grinding or squealing: Points to a failing bearing — typically in the blower motor or the condenser fan motor. Bearings wear predictably over time. Acting on a bearing symptom early is far cheaper than replacing a seized motor after it fails.
Banging or rattling: Suggests loose components in the blower assembly, a bent fan blade, or a refrigerant line vibrating against sheet metal. If the banging is loud, turn the system off. Loose parts can cause secondary damage to adjacent components.
Burning smell: A burning electrical odor means a wire, motor winding, or capacitor is overheating. Shut the system off immediately and call a technician. Running a system with an active electrical fault can cause a fire.
Musty or mildew odor from vents: This typically indicates mold or biofilm growth in the drain pan or on the evaporator coil surface. According to the EPA, mold in HVAC systems can degrade indoor air quality and trigger health complaints in building occupants. Musty odors from vents should not be ignored.
Step 5: Check for Refrigerant and Evaporator Issues
The refrigerant circuit is the core of any cooling system. Problems here produce specific, recognizable symptoms that distinguish them from other failure types.
Warm air from vents: If the system is running but blowing warm or room-temperature air, suspect a refrigerant issue, a failed compressor, or a severely fouled evaporator coil.
Ice forming on refrigerant lines or the evaporator: Ice on the suction line (the larger insulated line running between indoor and outdoor units) usually means low refrigerant charge or severely restricted airflow. Turn the system off and let it thaw fully before restarting. Do not chip or pry ice from coils — you will damage the fins.
Hissing or bubbling near refrigerant lines: Can indicate a leak point where refrigerant is escaping. EPA Section 608 regulations require that refrigerant handling — leak repair, evacuation, and recharge — be performed by a technician holding EPA Section 608 certification. This is not a DIY repair under any circumstances.
If you suspect a refrigerant issue, shut the system off and call a licensed commercial HVAC technician. They'll locate the leak with an electronic detector, repair it at the source, and evacuate the system. Then they recharge it with the correct refrigerant type and quantity.
Step 6: Inspect the Indoor Air Handler
The air handler circulates conditioned air through your ductwork. Problems here affect airflow volume and temperature consistency across every zone the system serves.
Drain pan: Check for standing water. A clogged condensate drain line is one of the most frequent service issues for commercial systems in Virginia's humid climate. Standing water in the drain pan grows mold quickly and eventually triggers a float switch that shuts the system off — or overflows onto equipment and finished ceilings.
Blower wheel: If you can safely access the blower compartment, inspect the blower wheel for debris accumulation. A clogged blower wheel loses significant airflow efficiency and puts mechanical strain on the motor. Heavy buildup is a sign of a filter that was missed or bypassed.
Evaporator coil: Look for visible dirt accumulation or ice. Coil cleaning requires specific tools and chemicals — it's a technician task. Attempting to clean an evaporator coil yourself with household cleaners can damage the fins and void equipment warranties.
Step 7: Evaluate Ductwork and Airflow Distribution
Duct problems can mimic equipment failures convincingly. A disconnected section or stuck damper can make the system look like it's failing when the central equipment is fine.
Walk the facility and compare temperatures zone by zone. If some rooms are significantly warmer or cooler than others while the system runs, suspect ductwork before assuming equipment failure.
Check visible ductwork for disconnected joints, tears or holes in flexible duct, and crushed or kinked sections. Also verify damper positions. Manually operated dampers are sometimes left closed after maintenance visits or seasonal adjustments.
ENERGY STAR research indicates that duct leaks in commercial buildings can waste large portions of conditioned air. Often, that lost air never reaches the occupied space. Resealing duct connections is a cost-effective repair with a measurable impact on energy costs and comfort.
Step 8: Know When to Stop and Call a Professional
Some HVAC checks are safe to perform without trade experience or special tools. These include replacing filters, clearing condenser zones, resetting breakers, checking thermostat settings, and noting sounds. Most diagnostic steps beyond that require a licensed technician.
Call a commercial HVAC contractor immediately when any of the following apply:
- A reset circuit breaker trips again without running the system
- You hear grinding, loud banging, or burning sounds from any component
- You smell burning from anywhere in the system
- The system runs but produces no cooling or heating
- You suspect a refrigerant issue (warm air, icing on lines, hissing)
- Standing water is visible in the drain pan or dripping from the unit
- The compressor cycles on and off in rapid succession (short cycling)
- Any electrical component shows burn marks, discoloration, or visible damage
Attempting DIY repairs on refrigerant circuits, electrical panels, or compressors voids equipment warranties. Refrigerant handling without EPA Section 608 certification violates federal regulations and carries civil penalties.
When an HVAC System Can't Be Repaired
Not every HVAC failure is repairable. Some conditions require equipment replacement regardless of the technician's skill or the repair budget available.
VA Commercial Repair Solutions — with 17+ years in central Virginia — identifies four failure types that can't be repaired:
- A failed compressor that tests open (ohms to infinity) or shorted to ground. The compressor is the heart of the refrigerant circuit. There is no field repair.
- A refrigerant leak in an aluminum evaporator coil. Copper coils can be brazed and repaired; aluminum coils cannot. A leaking aluminum coil means coil replacement.
- A failed heat exchanger made of cast iron. Steel heat exchangers can be welded and repaired; cast iron cannot.
- A cracked boiler combustion chamber. This is a code violation as well as a mechanical failure — replacement is mandatory.
A good contractor shows you the evidence — meter readings, inspection results — not just asserts that replacement is needed. If a contractor recommends replacement without showing you why, ask to see the data.
What to Tell Your Technician Before They Arrive
The more precise information you provide, the faster the diagnosis. Before calling a commercial HVAC contractor, document these data points:
Operating symptoms: What is the system doing, and what is it failing to do? Is it running but not cooling? Running briefly and shutting off? Not starting at all?
When it started: Did the problem appear suddenly, or has performance been declining over days or weeks? Sudden failures often indicate electrical or mechanical events. Gradual decline points to maintenance issues — dirty coils, low refrigerant charge, failing capacitors.
Any recent changes: Was the system serviced recently? Were filters changed? Was any construction or renovation work done near the equipment?
Error codes or indicator lights: Modern commercial HVAC controls display fault codes when the system trips. Write down any codes showing on the thermostat or control board before the technician arrives. Fault codes narrow the diagnosis significantly.
System age and service history: How old is the equipment? When was it last serviced? Has it needed repair before, and for what?
Common Questions About HVAC System Diagnosis
How do I know if my problem is electrical or mechanical?
Electrical failures often appear as complete non-starts, tripped breakers, burn marks near components, or a burning smell. Mechanical failures produce sounds — grinding, squealing, banging — or visible damage like a bent fan blade. That said, the two often compound each other. A seized mechanical component puts electrical load on the motor winding, causing both failure types simultaneously.
How long does a commercial HVAC diagnosis take?
A qualified commercial technician can typically complete an initial diagnosis in one to two hours for standard equipment. Complex failures — refrigerant issues, building automation faults, multi-zone duct problems — may need a return visit with specialty equipment.
Can I diagnose my commercial HVAC system myself?
The steps in this guide cover what's safe to check without a license or specialized tools. Filter inspection, thermostat checks, condenser clearance, and sound/odor identification are all within reach. Anything involving refrigerant circuits, electrical panel access, or compressor testing requires a licensed technician.
What is the most common cause of commercial AC failure in Virginia's climate?
In Virginia's humid summers, four causes dominate. Dirty air filters create coil icing and compressor strain. Dirty condenser coils cut heat rejection capacity.
Refrigerant leaks from worn fittings or coil corrosion are also common. So are failed capacitors or contactors — electrical parts that wear faster in Virginia heat. Regular preventive maintenance catches all four before they become failures.
When does repair make more sense than replacement?
If repair costs under 50% of replacement on a system less than 10 years old, repair wins. A system over 10 years old, with repeated repairs, or on a phased-out refrigerant usually calls for replacement. A trustworthy contractor will give you both numbers and let you decide.
What does short cycling mean, and why is it a problem?
Short cycling means the compressor starts and stops rapidly — typically less than two minutes per cycle. It indicates refrigerant issues, electrical faults, an oversized system, or a failing compressor. Short cycling causes extreme wear on the compressor and dramatically shortens equipment life. It should be diagnosed promptly.
Conclusion: Diagnosis First, Repair Second
Effective HVAC repair starts with effective diagnosis. A technician who replaces components without isolating the root cause delivers a short-term fix that often leads to repeat failure. Working through each system layer — control, filters, outdoor unit, sounds, refrigerant, air handler, ductwork — finds the real problem.
For commercial facilities in Virginia, the stakes are high. Downtime costs money, failed health inspections cost permits, and equipment damage from a misdiagnosed repair compounds the original problem. Systematic diagnosis reduces all three risks.
VA Commercial Repair Solutions completes 85% of calls in a single visit — the best first-visit rate in central Virginia. Schedule a service call today — Class A licensed, live phone 24/7. Can't fix it? They pay you for the trip.