


24 hour emergency services
excellent service

We don't have voicemail. We answer your call 24/7. Every client is important. You deserve much more than voicemail!

Need an urgent repair or just want to speak with an expert? Call our local knowledgeable service pros 24/7 & receive immediate answers.

We repair all brands & always recommend repair before replacement! NO Service Call Fee with Repairs! FREE Installation Quotes!

If we can't fix it, we'll pay you $50 & credit $500 towards a new replacement unit or system.

We don't have voicemail.  We answer your call 24/7.

Every client is important.  You deserve more than voicemail!

Need an urgent repair or just want to speak with an expert? Call our local knowledgeable service pros 24/7 & receive immediate answers.

We repair all brands & always recommend repair before replacement!

NO Service Call Fee with Repairs!  FREE Installation Quotes!

If we can't fix it, we'll pay you $50 & credit $500 towards a new replacement unit or system.

Commercial HVAC, Restaurant Refrigeration and Commercial Electrician

Charlottesville, Harrisonburg & Staunton VA

Waynesboro, Staunton, Lexington & Fishersville, VA

When your business requires Commercial HVAC, Restaurant Refrigeration and a Commercial Electrician or any type of Facility Maintenance in Charlottesville, Harrisonburg, Waynesboro, Staunton, Lexington & Fishersville VA, VA Commercial Repair Solutions, LLC is the obvious answer for all of your commercial repair & installation needs. 


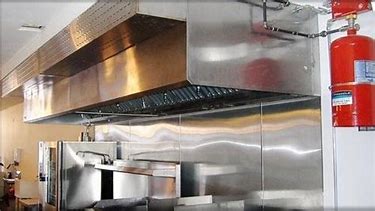
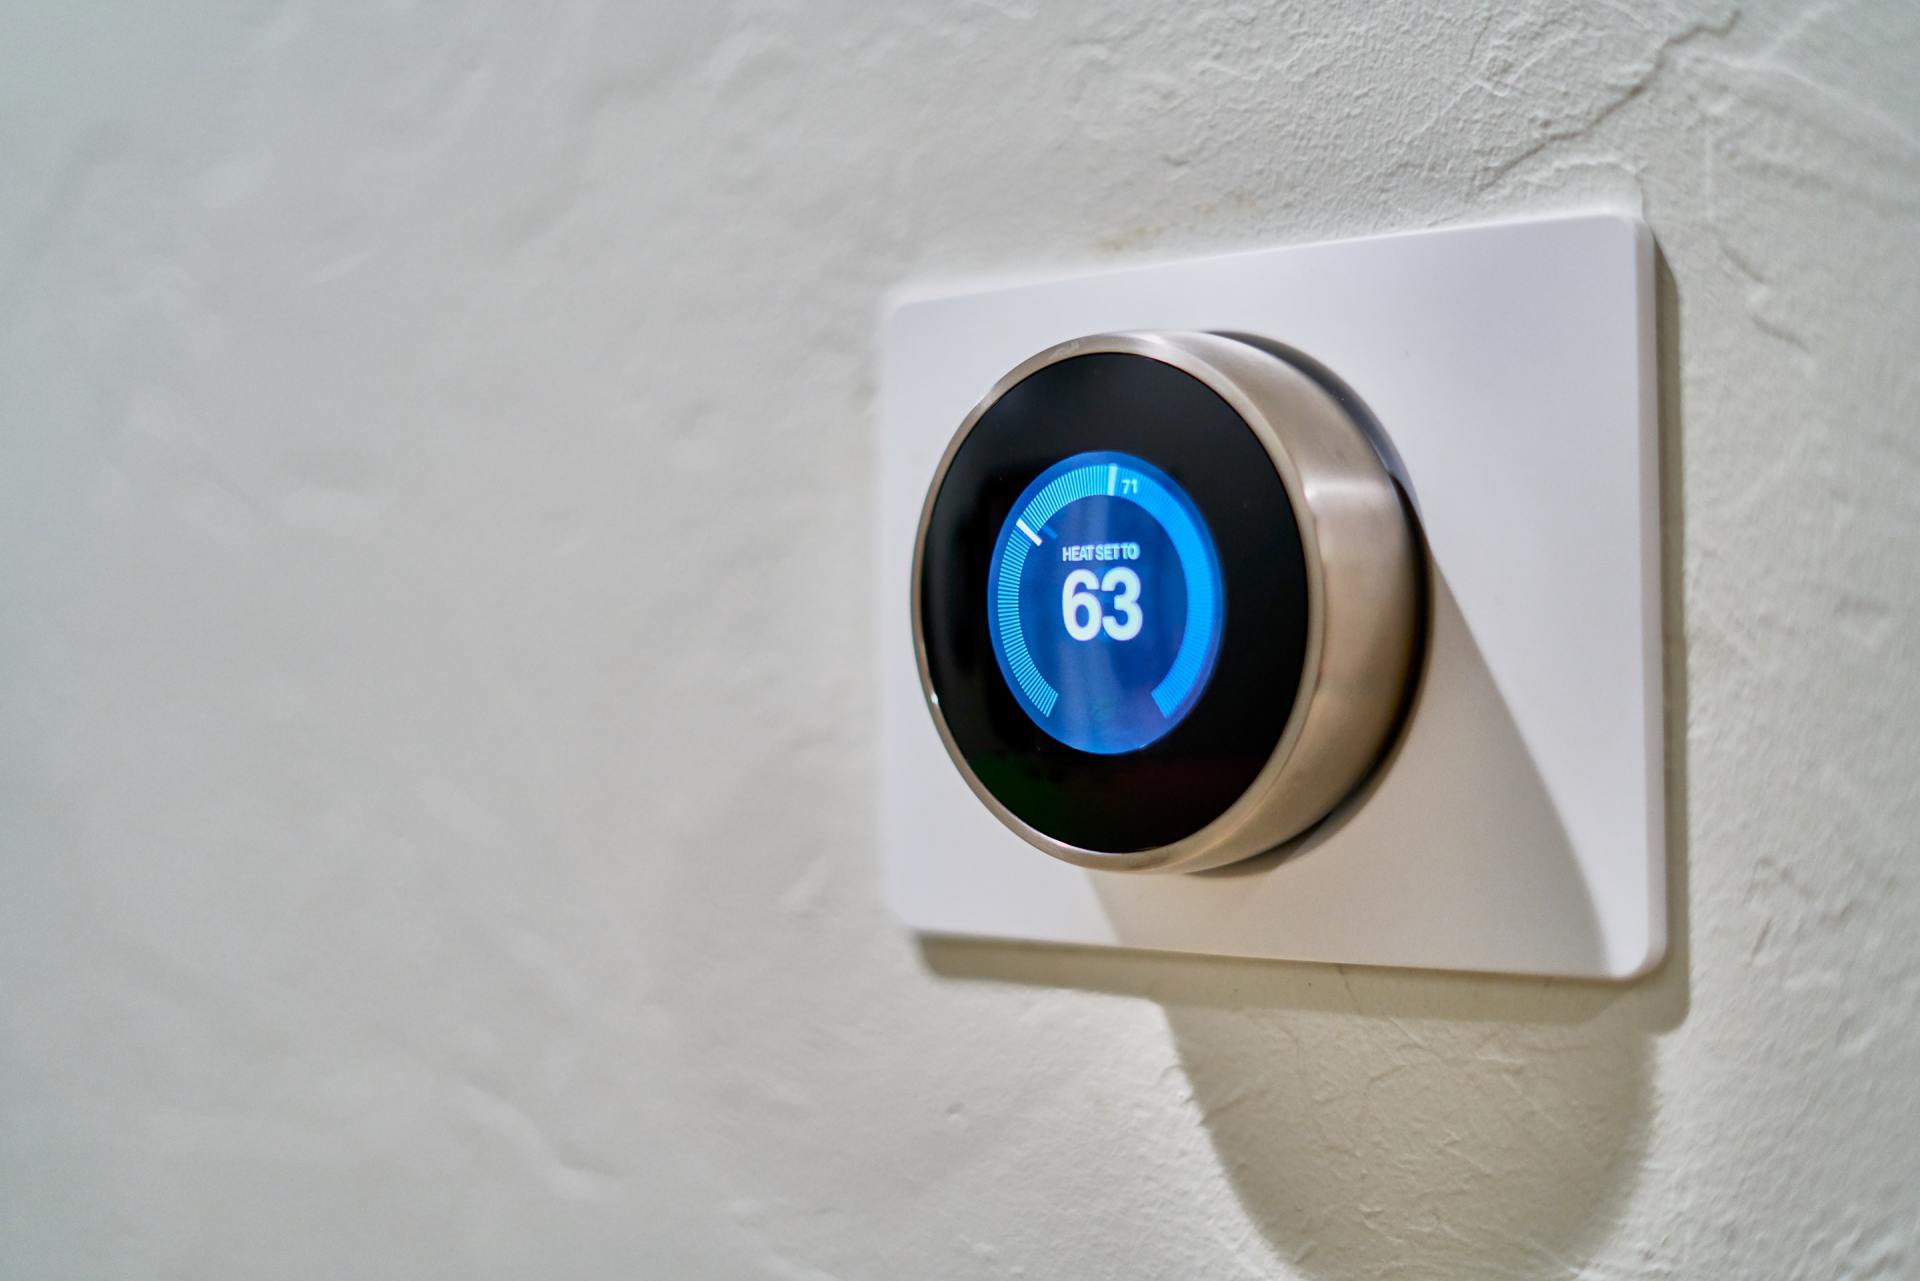
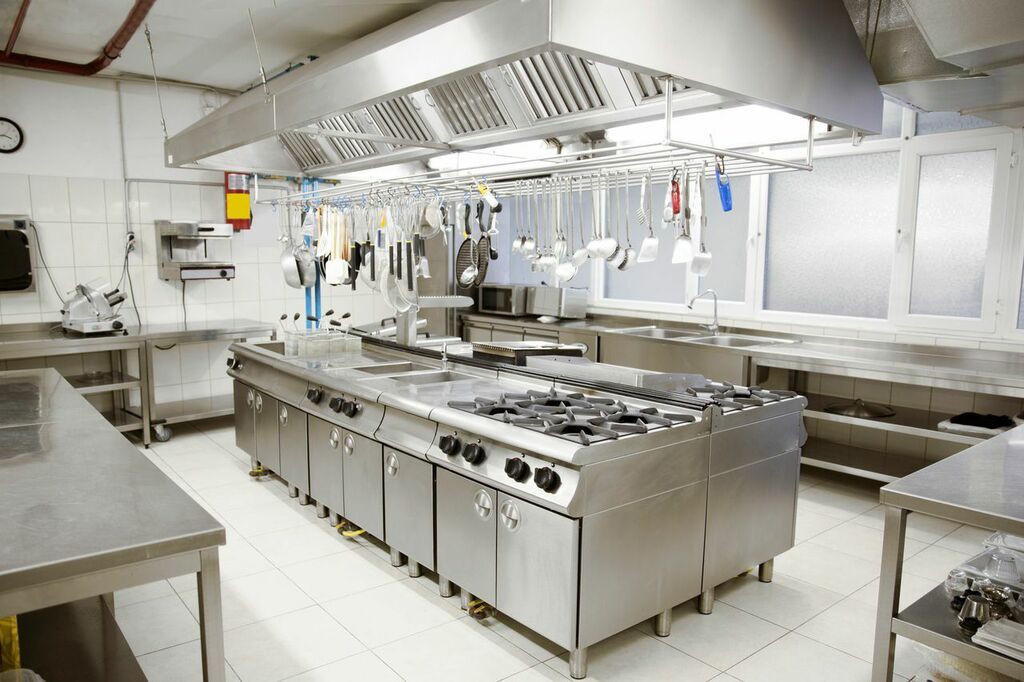
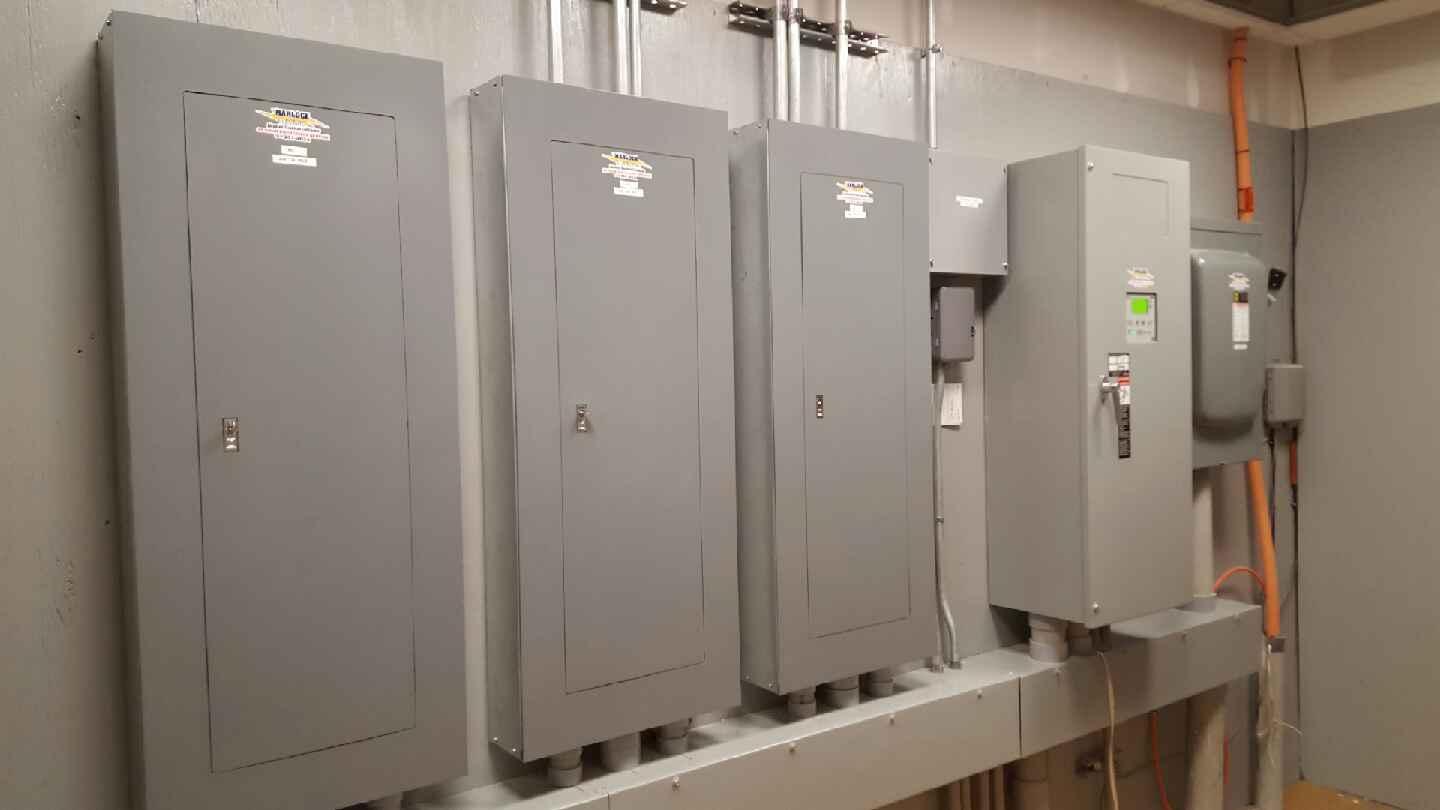
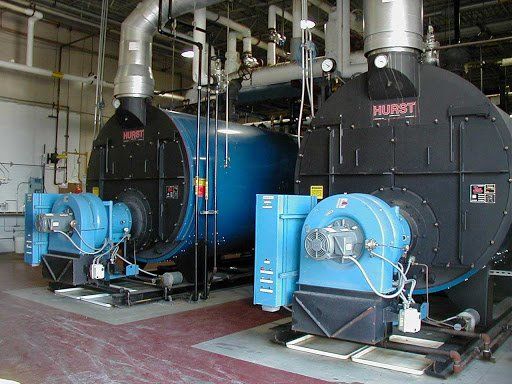
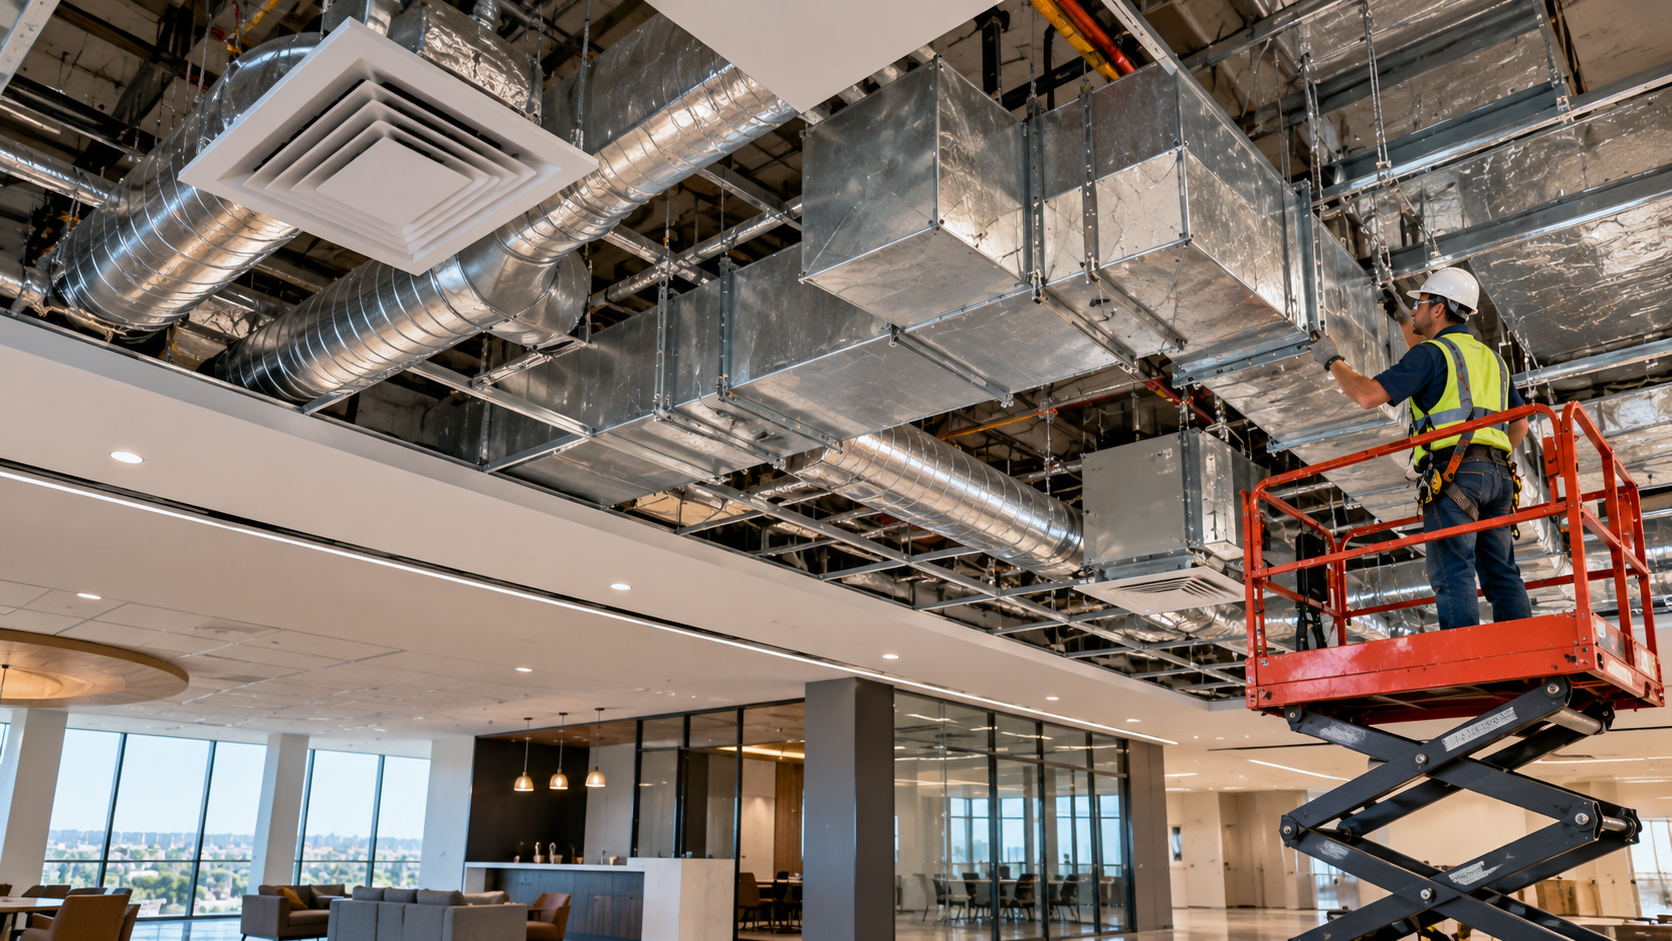
Facility Maintenance Repairs for your Commercial HVAC & Restaurant Refrigeration are inevitable.  At VA Commercial Repair Solutions, we offer a comprehensive range of Mechanical Contractor Services (noted below) that will meet all of your Commercial and Industrial HVAC, Refrigeration, Kitchen Appliances, Ice Maker, Range Exhaust Hood, Electrical, Boiler, Chiller, Air Compressor, Gas Line Installation, repair and maintenance needs. 


We never employ voice mail.  Call us 24-7 and always speak with a live person to have your questions answered and/or to schedule same-day service. We are always available to schedule for Commercial Repair and Installation services, or simply to answer your questions and provide expert advice at no charge.  We are an experienced, ethical, licensed Mechanical Contractor (HVAC, Refrigeration, Gas, and Electrical Contractor) who is just a phone call away 7 days a week.

How may we help you? 

SEE GOOGLE REVIEWS

WE HIRE VETERANS!

We are V3 Approved!

COME TRAIN WITH US & USE YOUR GI BILL.

Please click on the underlined link above.

WE ARE NOW HIRING:

ELECTRICIANS & HVAC/R TECHNICIANS

INSTALLERS

HELPERS

VETERANS

CERTIFIED APPRENTICE PROGRAMS

Please click on the underlined link above.

MENU OF VA COMMERCIAL REPAIR SOLUTIONS

We provide a wide range of Commercial Facility Maintenance and Industrial Repair, Sales and Installation Services to keep your business going strong; so you can do what you do best.  We promise to provide every service promptly, ethically and with a smile, to always earn your complete satisfaction while meeting if not exceeding all local industry norms and code requirements. 


We service* all brands but are Distributor Reps for:
* Our company ethics dictate that we will always advocate for repair before replacement. We have well stocked service vans and excellent, highly experienced technicians who are competent at repairing and maintaining your commercial appliances (not just replacing them).

Commercial Equipment is much more technical than residential equipment requiring a more experienced technician to properly attend to malfunctions and failures.  Furthermore, commercial equipment is made to be repaired and replacement parts are more readily available.  When one component malfunctions, it can easily affect the entire system.  Rest assured, our Commercial HVAC Commercial Refrigeration, and Commercial Appliance Repair Technicians have the knowledge necessary to identify and diagnose all of your Facility Maintenance repair needs for your commercial and industrial Refrigeration, Heating, Cooling and Range Exhaust Hood, Boiler and Electrical issues fast, restoring your business to its optimum ability to perform and provide for what you do best.


We offer a Free Quote on equipment Installation.  VA Commercial Repair Solutions offers a variety of options for replacing your worn-out Commercial Restaurant Equipment, including Commercial Heat Pumps, Furnaces, Range Exhaust Hoods, Water and Steam Boilers, Electrical, Mini-Splits, PTACs and Geothermal.  We also offer the full spectrum of repair and replacement services for your Commercial RefrigerationAir CurtainsRestaurant AppliancesKitchen Hoods and Exhaust Fans.  Our highly trained and professional staff will help you determine the best option for efficiency, taking into consideration your Heating, Cooling and Refrigeration requirements as well as your budget.


We can also ensure the safe, efficient operation of your HVAC and Refrigeration systems and minimize any unexpected issues with our professional repair, inspection and routine Preventive Maintenance at least once per year— preferably twice, before the Heating and Air Conditioning seasons begin.
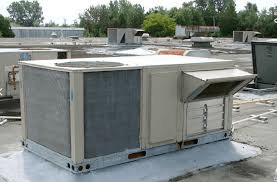
We are the Emergency Doctors for ALL of Your Commercial HVAC, Restaurant Appliance, Ice Maker and Refrigeration System Ailments!

VA Commercial Repair Solutions has your back, like an Emergency Room Doctor, for all of your Restaurant and Commercial Refrigeration and Appliance Repairs.  Our local technicians are available 24/7 for your Commercial Heating and Cooling needs. 


OUR TECHNICIANS:


  • Are ethical, competent, seasoned and experienced!  They are paid hourly or salary, not commission.
  • Will always Advocate for Repair before Replacement!
  • Are background checked and drug tested prior to employment!
  • Provide upfront pricing with an explanation of issues and viable solutions so you can select what is best for your situation !
  • Are heavily supported by our office staff.  When your job requires parts, it becomes our immediate priority!


Learn how your business can benefit from the Virginia Commercial Repair Advantage Plan.

(540) 457-4822        1-(866) 729-2215

Don’t Wait. Call VA Commercial Repair Solutions today for all of your Facility Maintenance Commercial Repair Service orders.

Trust the professionals at VA Commercial Repair Solutions for all your Facility Maintenance Commercial Heating, Cooling and Refrigeration needs.  Our local teams service all brands of equipment and are trained to meet the specialized Commercial, Refrigeration and Mechanical needs of Restaurants, Microbreweries, Vineyards, Business and Industrial Clients throughout the great Commonwealth of Virginia.

All Your Commercial Repair Solutions With Just 1 Phone Call!  (540) 457-HVAC (4822)

August 6, 2026
Water pooling beneath a commercial air handler is alarming — but it's rarely mysterious. AC systems produce condensation as a normal byproduct of cooling. The question is where that water goes. When it appears on the floor, in ceiling tiles, or running down adjacent walls, something in the drainage path or refrigerant circuit has failed. Knowing the difference between a water leak and a refrigerant leak matters before you start troubleshooting. Water leaks are condensation failures — moisture the system removes from the air isn't draining correctly. Refrigerant leaks are a different category: the primary symptom is reduced cooling output, not visible water. This guide covers both, but the most common commercial AC complaints — water on the floor, soaked ceiling tiles, overflow from the air handler — are condensation problems. Start there. Most condensation failures follow the same chain: moisture is produced normally, a component in the drainage path fails, water backs up or overflows. Knowing where to look narrows the diagnosis quickly. How Commercial AC Systems Produce Water Commercial air handlers cool indoor air by passing it across a cold evaporator coil. As warm, humid air contacts that cold surface, moisture condenses on the coil — the same physics as condensation forming on a cold glass in summer. That condensed water drips into a drain pan directly below the coil and flows out through a condensate drain line. In Virginia's climate, a commercial air handler in a busy facility can remove several gallons of moisture per hour during peak summer operation. That's a meaningful volume moving through the drain system every day. A partial blockage that might go unnoticed in a dry climate will cause overflow quickly in a high-humidity commercial environment. The condensate drain system is mechanically simple: evaporator coil, drain pan, drain line, and typically a condensate pump if the line must run uphill to reach a floor drain. Each component is a distinct failure point. Cause 1: Clogged Condensate Drain Line The most common cause of commercial AC water leaks is a blocked condensate drain line. Algae, mold, dirt, and biofilm accumulate inside the drain tube over time, partially or completely blocking water flow. When the drain backs up, water fills the drain pan. Once the pan fills, it overflows — onto finished ceilings, equipment, or the floor below. How to identify it: Water pooling beneath or adjacent to the indoor air handler Dark staining on ceiling tiles directly below the unit System shuts down unexpectedly with no obvious mechanical reason — some units include a drain pan float switch that cuts power when water backs up How to resolve it: Turn the system off before touching the drain. Use a wet-dry vacuum at the external end of the drain line to pull the blockage toward you. Follow with a flush of diluted white vinegar — approximately one cup — to kill algae and biofilm coating the interior of the line. Flush with clean water to clear the vinegar. For stubborn blockages, a drain brush through the access port clears debris that vacuuming can't reach. Preventive quarterly drain flushes are the most effective way to avoid repeat blockages. In Virginia's humid summer months, inspecting the drain line monthly during peak cooling season is a practical interval for high-use commercial facilities. Cause 2: Frozen Evaporator Coil A frozen evaporator coil is the second most common cause of water leaks in commercial AC systems. The coil freezes when refrigerant drops below 32°F — caused by insufficient airflow or refrigerant charge below the rated level. Ice forms on the coil surface, grows, and eventually blocks airflow entirely. When the system cycles off, that ice melts rapidly and overwhelms the drain pan. How to identify it: The unit runs continuously but cooling output has dropped significantly Ice visible on the suction line — the larger insulated copper pipe running between the indoor and outdoor units System trips off on its high or low-pressure safety; when it shuts down, a large volume of water suddenly appears How to resolve it: Turn the system completely off. Do not chip, pry, or blast ice from the coil. The aluminum fins deform permanently under contact pressure, reducing airflow for the coil's remaining service life. Allow the coil to thaw fully, which typically takes two to four hours depending on the thickness of ice buildup. Once thawed, identify the cause before restarting. A heavily loaded air filter is the most common culprit — replace it and restart. If the coil freezes again with a clean filter in place, suspect low refrigerant charge, which requires a licensed technician. Cause 3: Cracked or Rusted Drain Pan The drain pan sits directly beneath the evaporator coil and collects condensate before it reaches the drain line. In most commercial air handlers, the pan is metal — and metal corrodes. A small crack or rust perforation routes water directly through the pan rather than through the drain outlet. Water appears below the unit in locations that don't align with where a normal drain overflow would land. How to identify it: Water appearing in spots that don't match the drain line path Rust staining visible beneath or around the unit Corrosion, perforation, or hairline cracks along pan seams and base — particularly in older equipment in humid or coastal environments How to resolve it: Minor cracks in an otherwise structurally sound pan can sometimes be sealed with HVAC-rated drain pan sealant as a temporary fix. A rusted-through or significantly damaged pan requires full replacement — sealing corroded metal is not a lasting repair. Each pan is sized and shaped to a specific equipment model, so confirm the correct OEM or compatible replacement part before ordering. For most commercial air handlers, replacing the drain pan requires partial disassembly — a licensed technician task. Cause 4: Disconnected or Improperly Sloped Drain Line Condensate drain lines require a consistent downward slope toward the discharge point — the standard is 1/4 inch of drop per foot of horizontal run. Without this slope, water sits in the line rather than flowing freely. Vibration from the air handler shifts drain lines over time, and connections separate at fittings. Improper installation during the original job sets up the same problem from day one. How to identify it: Water backing up in the drain pan despite the drain line appearing clear when flushed or vacuumed Visible horizontal sag in the drain line run Disconnected sections at fittings near the drain pan connection or at intermediate supports How to resolve it: Inspect the full drain line run from the pan outlet to the discharge point. Look for sag, disconnected sections, and runs that don't visibly slope downward. Re-support and re-slope sagging sections using appropriate pipe hangers at the correct interval. Re-seat disconnected fittings with HVAC-rated sealant and confirm they're properly supported against vibration. Rooftop unit drain lines are particularly prone to vibration-related separation. Check drain line connections during any rooftop service visit — regardless of whether a leak has occurred. Cause 5: Failed Condensate Pump Many commercial systems are installed in mechanical rooms or ceiling plenums where there's no gravity drain path available. A condensate pump lifts the collected water upward against gravity to a floor drain or building drain. When the pump fails — seized motor, stuck float switch, or clogged reservoir — water backs up exactly as it would from a blocked drain line. How to identify it: Water backing up in the drain pan despite the drain line being clear and properly sloped No audible pump motor activity when the system is running and the pan has water in it Pump's collection reservoir visibly full of standing water with no discharge occurring How to resolve it: Check the pump reservoir for debris blocking the float switch — the most common failure mode, often fixable by cleaning the reservoir. Test the pump manually by lifting the float switch with your hand — the pump motor should activate immediately. If the motor runs but no water discharges, the impeller may be fouled or the discharge line blocked. A failed condensate pump should generally be replaced rather than repaired — pumps are relatively inexpensive components and repair parts are often unavailable. Confirm the replacement pump's flow rate capacity matches or exceeds the original unit's specification. Cause 6: Low Refrigerant Charge Low refrigerant doesn't cause a water leak directly. It causes the evaporator coil to run colder than designed, which leads to coil freezing — and the subsequent water overflow when that ice melts. If you've resolved the drain line and pan and the coil keeps freezing with a clean filter, refrigerant charge is the next diagnosis. Low charge typically results from a leak in the refrigerant circuit, not from refrigerant simply "running out" over time. A closed refrigerant circuit doesn't consume refrigerant — if the charge is low, refrigerant has escaped from somewhere. How to identify it: Coil freezing recurring with clean filters and good airflow Reduced cooling capacity with the system running continuously Hissing or bubbling near refrigerant line connections — though many leaks are slow and silent Oily residue around fittings or line connections — refrigerant oil escapes alongside refrigerant gas How to resolve it: This is not a DIY repair under any circumstances. EPA Section 608 certification is federally required for anyone recovering, recycling, or recharging refrigerant. A licensed technician locates the leak, recovers remaining refrigerant, and repairs the leak point. Copper lines can be brazed; aluminum coil leaks require full coil replacement. The system is then pressure-tested with nitrogen, evacuated, and recharged to the manufacturer's specified level. Attempting to "top off" refrigerant without finding the leak wastes refrigerant and repeats the problem on a shortened cycle. Cause 7: Dirty or Completely Blocked Air Filter A severely restricted air filter is often the one-step cause behind a frozen coil — and therefore behind a water leak that looks more complicated than it is. When an air filter loads heavily with dust, grease, or debris, airflow across the evaporator coil drops below the minimum threshold for keeping refrigerant temperatures within range. The coil freezes. Cooling output drops. When the unit shuts down or the ice melts, the drain pan overflows. Commercial air filters in restaurant kitchens, food processing facilities, and industrial environments load far faster than filters in office or retail spaces. Grease-laden air accelerates filter loading dramatically. A filter lasting two months in an office may load completely within three weeks in a commercial kitchen. Fixed-calendar filter replacement schedules miss this variability. How to identify it: Reduced cooling preceding the water leak, suggesting the freeze developed over days rather than suddenly Filter appears visibly dark or grey and restricts airflow when held to light Ice on the coil that clears when the filter is replaced and the coil thaws How to resolve it: Replace the filter. Let the coil thaw fully — two to four hours — before restarting. Switch to monthly visual filter inspection rather than a fixed replacement calendar, especially in commercial kitchen, food processing, or high-dust environments. Replace at first visible loading, not on a predetermined schedule. When a Technician Is Required Several AC leak causes require licensed professional service. Refrigerant work — leak detection, system evacuation, and recharge — requires EPA Section 608 certification. Aluminum refrigerant coil leaks require full coil replacement, not field repair. Drain pan replacement on most commercial air handlers involves partial unit disassembly that falls outside routine maintenance scope. If water is reaching ceiling tiles above electrical panels, running near wiring, or pooling in areas with active electrical equipment, shut the system off immediately. Water in electrical enclosures creates shock hazards and equipment damage that compound quickly. Suspended ceiling plenums can route water far from the actual leak source before it becomes visible. Don't assume a wet ceiling tile is directly below the problem. Also call a technician if the system is shutting itself down on safety controls repeatedly and the cause isn't a clearly blocked drain or dirty filter. The high-pressure and low-pressure safety cutoffs protecting the compressor from refrigerant-side problems will cycle the unit off repeatedly. Resetting and restarting without diagnosing the underlying cause can destroy the compressor — the most expensive single component in any commercial AC system. VA Commercial Repair Solutions carries an 85% first-visit completion rate on commercial AC calls. Their repair-or-pay guarantee is specific: if the equipment can't be fixed, they pay $50 cash and apply a $500 credit toward a replacement unit. The service call fee is waived when repairs are performed. Common Questions About AC Leaks Is water leaking from my AC a sign of a refrigerant problem? Not necessarily — and usually not. Water leaks from commercial AC systems are most often condensation failures: the drain is blocked, the pan has cracked, or the coil has frozen and thawed. Refrigerant problems primarily show up as reduced cooling performance rather than visible water. The exception is when a low refrigerant charge causes the evaporator coil to freeze and then thaw rapidly, producing a large water release. If the system is both leaking water and failing to cool adequately, pursue both causes in parallel rather than assuming one explains the other. How do I tell a condensate leak from a refrigerant leak? Condensate leaks produce water — dripping from the air handler, overflowing from the drain pan, or appearing in ceiling tiles below the unit. Refrigerant leaks don't produce visible water dripping. The symptoms instead are reduced cooling capacity, ice forming on the suction line or evaporator coil, or an oily residue near refrigerant line fittings. Hissing or bubbling near the lines can indicate active refrigerant escape, though many refrigerant leaks are slow and produce no sound. A technician with an electronic leak detector identifies refrigerant leaks reliably — visual inspection alone misses most of them. Can I clean my condensate drain line myself? Yes — clearing a condensate drain line is one of the few AC maintenance tasks that facility maintenance staff can safely perform. Turn the system off. Use a wet-dry vacuum at the external drain opening to clear the blockage, then flush with a diluted vinegar solution through the access port near the drain pan. The practical limitation is access: commercial air handlers in ceiling plenums or on rooftops may require ladder access and panel removal to reach the drain access point. If you can't safely access both ends of the line, a technician with a drain snake or pressurized flush kit is the right call. Why does my AC only leak on very humid days? High ambient humidity increases the volume of condensate your system must handle — in some Virginia commercial environments significantly. A drain line with a partial blockage that handles a normal summer condensate load may not keep up when humidity spikes and condensate production increases by 30–50%. The same is true for drain lines with insufficient slope: adequate under normal load, insufficient under high-condensate conditions. Fix the drain line regardless. A system whose drain is only adequate under ideal conditions is one humidity spike away from a leak on any given summer day. How long can I safely run my AC if it's leaking water? It depends on where the water is going. If the leak is draining onto an empty floor away from electrical systems and equipment, a brief delay to schedule service isn't immediately destructive. If water is reaching electrical enclosures, building wiring, or moisture-sensitive equipment, shut the system off immediately. Beyond secondary damage, running a system with a blocked drain lets water back up into the air handler — onto the coil surface and blower wheel. That creates mold growth and equipment damage that compound the original repair cost. Conclusion: Diagnose Before You Restart Most commercial AC leaks trace to a short list of causes: a blocked condensate drain, a frozen coil, a cracked drain pan, a disconnected line, or a failed pump. Each has a clear diagnostic path, and most have a repair that can be completed quickly when the right cause is identified. The mistake is restarting the system without diagnosing first. A refrozen coil, ongoing drain overflow, or an unaddressed refrigerant leak creates compounding damage with each subsequent operating cycle. Turn the system off. Identify where the water originates. Work through the causes systematically before restarting. Refrigerant work is federally regulated and requires a licensed technician. Significant water exposure to electrical systems or building components warrants immediate professional response. For everything else, the checklist above gets you to the answer. For commercial AC leaks in central Virginia and the Shenandoah Valley, contact VA Commercial Repair Solutions — live phone 24/7, 85% first-visit fix rate, and no service call fee when repairs are performed.
August 6, 2026
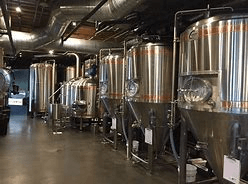
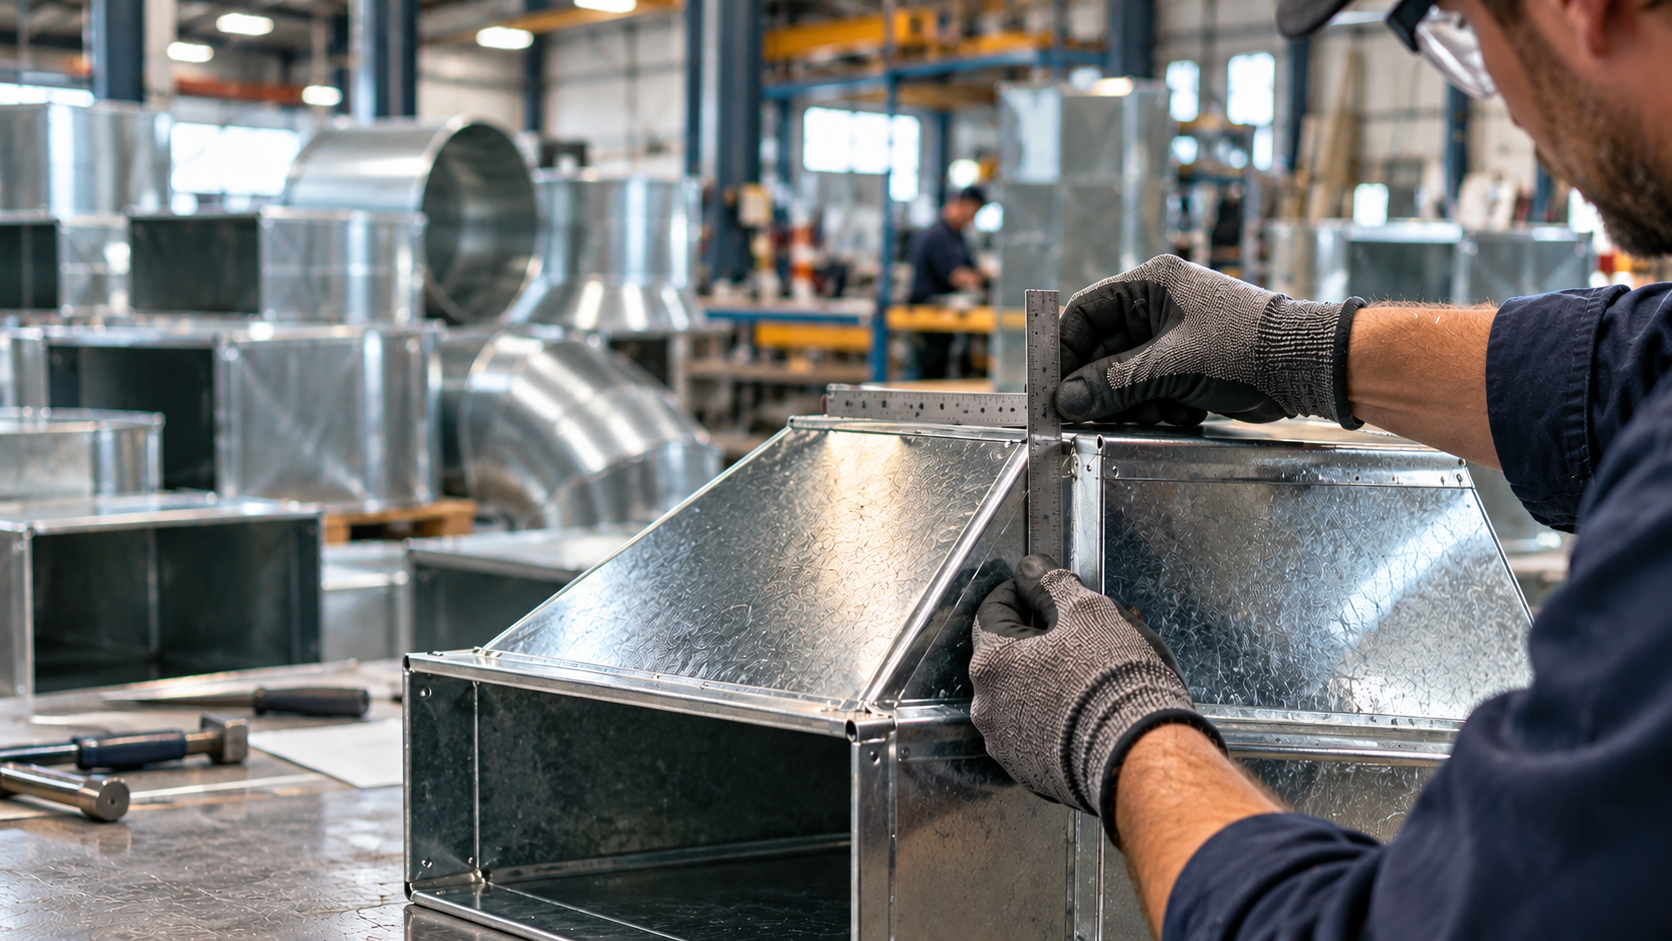
 A microbrewery's mechanical systems aren't built for general contractors. Fermentation room chillers, process piping, glycol loops, draft beer lines, and three-phase power for grain mills — each requires someone who has worked inside that kind of facility before. Using the wrong contractor doesn't just delay a project. It can create food-safety violations, contaminate a production batch, or void equipment warranties. Virginia's craft beverage and agricultural sectors have grown substantially. The state hosts more than 300 licensed wineries and over 100 craft breweries, plus a dense concentration of poultry plants, dairies, and cold storage operations in the Shenandoah Valley. These facilities share a common challenge: most regional mechanical contractors aren't equipped for this work. A restaurant walk-in cooler and a glycol-jacketed fermentation tank are not the same service call. This guide covers the best specialty and industrial contractors serving Virginia's microbreweries, vineyards, and agricultural facilities. Each was evaluated on niche credentials, verified project experience, trade scope, and geographic coverage. Virginia's Top Specialty Contractors for Breweries, Wineries & Agriculture VA Commercial Repair Solutions covers the Shenandoah Valley and central Virginia. They are the only contractor in this guide holding active draft beer system certifications alongside in-house stainless steel fabrication for brewery and winery equipment. Southern Air has Virginia's most verifiable food-and-beverage construction record, including a documented brewery installation at Devils Backbone. Waco, Inc. brings industrial process piping depth to food-and-beverage manufacturing. Their confirmed project work for Virginia Distillery included sanitary stainless steel piping and heat exchanger installation. PHCVA covers Hampton Roads with industrial refrigeration and foodservice maintenance expertise built across nearly five decades. Shenandoah Refrigeration fills northern Shenandoah Valley commercial refrigeration needs in the Winchester corridor.
August 3, 2026
 A failed AC coil stops cooling fast. The system keeps running, drawing power, cycling on and off — but the air coming through the vents is warm. In a commercial facility, that's a revenue problem within hours. Most AC coil problems have a diagnosable cause. The repairs fall into two categories: DIY work you can do safely, and work requiring a licensed technician with EPA certification. Mixing them up costs time and money. This guide covers both. Work through the steps in order. The most common causes — dirty coils, frozen coils, clogged drains — come first. The more technical repairs and replacement decisions come later. What Is an AC Coil and Why Does It Fail? Your AC system has two coils. Understanding which one has failed changes how you approach the repair. The evaporator coil sits inside the indoor air handler. Refrigerant flows through it and absorbs heat from the air passing over it. That's how the system cools your space — not by injecting cold air, but by extracting heat. The condenser coil is in the outdoor unit. It's where the refrigerant releases the heat it absorbed inside. A fan forces air over the condenser coil to reject that heat into the outdoor air. Both coils fail for the same basic reasons: restricted airflow, refrigerant loss, physical damage, or biological contamination. The symptoms differ by coil type. The diagnostic logic is the same — rule out simple causes before assuming the worst. The four main coil problems Dirty coils are the most common commercial AC failure. A coated evaporator coil can't absorb heat efficiently. A dirty condenser coil can't reject it. Both cause the same result: reduced cooling capacity, longer run times, and rising energy costs. Frozen coils occur when the evaporator coil drops below 32°F. That happens when airflow is too restricted to warm the refrigerant passing through the coil. The coil ices over, blocks airflow further, and the system eventually stops cooling entirely. Refrigerant leaks cause gradual cooling loss. The system runs but output drops progressively. Left unaddressed, low refrigerant starves the compressor and causes far more expensive damage. Leaks require a licensed technician. Bent or damaged fins reduce airflow across the coil surface. Fin damage is common in outdoor condenser coils exposed to debris, hail, or careless maintenance. Straightening bent fins is a DIY repair. Physical coil damage is not. Step 1: Shut Down the System Before Any Inspection Always turn off the AC at the thermostat before inspecting either coil. Then locate the disconnect switch — the metal box near the outdoor condenser unit — and switch it off. The thermostat setting cuts the cooling cycle, but it doesn't cut power to the unit. The disconnect switch removes power from the compressor and condenser fan motor. This is the step most people skip. Skipping it creates shock risk when touching components inside the unit. For the indoor air handler, locate and trip the circuit breaker feeding it before opening any access panels. Confirm power is off by checking for running fans or lights on the unit's control board. Step 2: Thaw a Frozen Evaporator Coil If the evaporator coil is iced over, start here before any other repair. Running the system on a frozen coil forces the compressor against excessive head pressure. That causes compressor failure. Do not chip, pry, or blast ice off the coil. Evaporator fins are thin aluminum. Physical contact with ice-covered fins bends them. A bent fin reduces airflow — making the same problem more likely to recur. Turn the system fan to "On" at the thermostat. This runs the blower without the compressor, circulating room-temperature air across the frozen coil. Depending on the amount of ice, full thaw takes 1 to 4 hours. Have towels and a bucket ready — the condensate pan may overflow as the ice melts. Once the coil is fully thawed, identify the root cause before restarting. Freeze-up causes: clogged air filter, restricted return airflow, dirty evaporator coil, or low refrigerant charge. The first three are DIY checks. The last requires a licensed technician. Step 3: Replace the Air Filter Do this before cleaning any coil. A clogged air filter is the most common preventable cause of both frozen coils and reduced cooling performance. Remove the filter and hold it up to a light source. If you can't see light through the filter medium, it's restricting airflow. Replace it immediately. In commercial facilities — restaurants, manufacturing spaces, hotels — filters clog far faster than manufacturer schedules assume. Also check whether the filter has collapsed or pulled away from its frame. A filter that's bypassed lets debris land directly on the evaporator coil surface. If you see a clean filter but a dirty coil, a past filter bypass is likely the reason. For commercial systems with multiple return air paths, check every filter in the system. A single clogged filter in a multi-zone system restricts enough airflow to affect the entire cooling capacity. Step 4: Clean the Evaporator Coil A dirty evaporator coil is the second-most common commercial AC problem after filter neglect. The coil picks up dust, grease, and biological growth over time. A coated coil surface can't transfer heat effectively — output drops while run time and energy costs climb. What you'll need: Soft-bristle brush No-rinse commercial coil cleaner (foaming type) Flashlight Nitrile gloves and eye protection — coil cleaners are caustic Step-by-step: Turn off power to the air handler and open the access panel to the evaporator coil. Use the flashlight to assess the coil surface. Look for visible dirt coating, biological growth (dark or discolored patches), and ice (if the coil just thawed and is now accessible). Spray the no-rinse coil cleaner evenly across the coil face. Let it dwell for the time specified on the product label — typically 10 to 20 minutes. The foaming action lifts debris. No-rinse formulas drain off through the condensate drain line on their own. Use the soft-bristle brush to loosen stubborn surface buildup. Always brush parallel to the fins — never across them. Pressure applied across the fins bends them and permanently reduces airflow. Inspect the condensate drain pan at the same time. Standing water in the pan means the drain line is blocked — address that in Step 6. What not to do: Never use a pressure washer on the evaporator coil. The fins are thin aluminum and deform under direct water pressure. Household cleaning sprays (bleach, all-purpose cleaners) leave residues that accelerate coil corrosion. Use products designed specifically for AC coils. Step 5: Clean the Condenser Coil The outdoor condenser coil rejects heat from the refrigerant circuit. A dirty condenser forces the compressor to work against higher head pressure. That reduces efficiency, increases power consumption, and shortens compressor life. Before cleaning, confirm the disconnect switch is off. Remove any debris from around the unit — leaves, cottonwood seeds, dirt compacted against the fins, or vegetation growing into the coil face. Maintain at least 24 inches of clear space on all sides of the outdoor unit. Cleaning the condenser coil: Remove the top grill (on most residential and light commercial condensers). Set it aside carefully — the condenser fan is typically attached. Access the coil from the inside face where possible. Cleaning from inside out pushes debris outward rather than deeper into the fin surface. Apply a commercial condenser coil cleaner to the fin surface. Let it dwell per the product directions. For lightly soiled coils, a garden hose at low pressure rinses loosened debris through. Keep the spray angle parallel to the fins. Use a fin comb to straighten any bent fins before rinsing. Insert the comb tines between fins and drag parallel to the fin direction. Move slowly. Aluminum fins are soft; they bend again under excessive force. Work in short sections. What not to do: Never use a pressure washer on the condenser coil. Even at low settings, a pressure washer flattens aluminum fins across wide sections of the coil. That damage is permanent and reduces airflow through the coil for the life of the unit. Step 6: Clear the Condensate Drain Line A clogged condensate drain is one of the most frequent service complaints for commercial AC systems in Virginia's humid climate. Standing water in the condensate pan causes mold and biofilm growth, which eventually blocks the line further. When the pan overflows, water damages ceilings, equipment, and finished floors. Locate the condensate drain access point — typically a cleanout cap or plug on the drain line near the air handler. Remove it and use a wet/dry vacuum at the drain outlet (the exterior discharge point) to pull the clog through. If the vacuum doesn't clear the clog, flush with clean water from the access point. For recurring clogs, a slow-drip condensate pan treatment tablet (chlorine-based, available at HVAC supply houses) inhibits biological growth between service visits. Check the drain line routing for sags or low points. Water pools at low points in improperly supported drain lines and becomes a chronic source of clogs. Support the drain line at regular intervals so it maintains a continuous slope to the discharge point. A float switch sits in the condensate pan on most commercial units. When the pan reaches a set level, the float switch shuts the system off to prevent overflow. If your system is short-cycling with no other obvious cause, check the float switch position first. Step 7: Straighten Bent Coil Fins Bent fins reduce airflow across the coil surface — both condenser and evaporator. Hail, debris impact, and careless cleaning with a pressure washer are the most common causes. This is a DIY repair with the right tool. A fin comb is a simple, inexpensive tool. It looks like a specialized comb with multiple sets of tines at different spacings. Match the tine spacing to the fins-per-inch (FPI) count on your coil — most residential and light commercial coils run 12 to 18 FPI. The coil spec is on the equipment nameplate. Insert the correct tine set between fins and move the comb parallel to the fin direction. Don't twist or angle the comb — this bends fins in a new direction rather than straightening them. Work in small sections, inspecting the straightened area before moving on. For condenser coils, straighten fins before cleaning. Crushed fins block airflow and make the cleaning process less effective. When a Licensed Technician Is Required The steps above cover the most common AC coil problems a commercial facility can address in-house. The following failures require a licensed HVAC technician. Do not attempt them without EPA Section 608 certification — refrigerant handling is federally regulated. Refrigerant leak detection and repair Low refrigerant charge is a common cause of progressive cooling loss. Symptoms: longer run times, reduced output, ice forming on the suction line or evaporator coil, and the system running without reaching setpoint. EPA Section 608 requires a licensed technician to locate, repair, and recharge refrigerant leaks. Adding refrigerant to a leaking system without repairing the leak is illegal. Any technician who recommends recharge without finding and fixing the leak source should not be servicing your equipment. The technician will connect manifold gauges to the service ports and measure suction pressure, discharge pressure, superheat, and subcooling. Those readings are compared against manufacturer design specifications for your specific system and ambient conditions. Deviation from spec confirms whether the issue is low charge, overcharge, or a system restriction. Copper coil leak repair (brazeable) Copper coils can be repaired in the field at the leak point. The technician recovers the refrigerant charge and exposes the leak location. They prepare the copper surface and braze-seal the joint with the appropriate alloy. The system is then evacuated to remove moisture and non-condensables, and recharged to spec. Brazing is an effective repair for single, identifiable leak points on copper coils. Leaks at flare fittings and service valve connections are often simpler still — a new fitting or valve can resolve the leak without brazing. But brazing requires proper technique. A poor brace joint fails within a single season. Aluminum coil leaks — replacement required Aluminum evaporator coils are common in modern commercial AC systems. They're lighter, less expensive to manufacture, and resist some forms of corrosion better than copper. But they cannot be repaired in the field the way copper coils can. A refrigerant leak in an aluminum coil means coil replacement. Field brazing techniques that work on copper don't transfer reliably to aluminum. The material properties differ. Failed aluminum "repairs" typically return leaks within one cooling season. Any contractor claiming to permanently fix an aluminum coil leak in place should be pressed for a written guarantee. When a technician shows evidence of an aluminum coil leak — detector reading, oily residue, confirmed low charge — trust the diagnosis. The repair is coil replacement. Full coil replacement Full evaporator or condenser coil replacement is necessary when the leak is too diffuse to localize (multiple pinhole leaks from formicary corrosion), the coil material is aluminum, or the physical damage is too extensive for surface repair. A reputable contractor shows you the evidence before recommending replacement. Electric meter readings, refrigerant detector output, or digital photographs of the leak location are the standard. If a contractor recommends coil replacement without providing supporting evidence, ask for it. Coil Repair vs. Replacement: Making the Right Call The repair vs. replace decision on a failed AC coil comes down to three factors: coil material, leak severity, and equipment age.
Show More

Get A Free Facility Maintenance Quote Today!

FACILITY MAINTENANCE TESTIMONIALS

Scheduling our Commercial Facility Maintenance Repair Services is just a phone call away!