
Opening a Restaurant in Virginia: Kitchen Design, Hood, Fire Suppression and Refrigeration Checklist
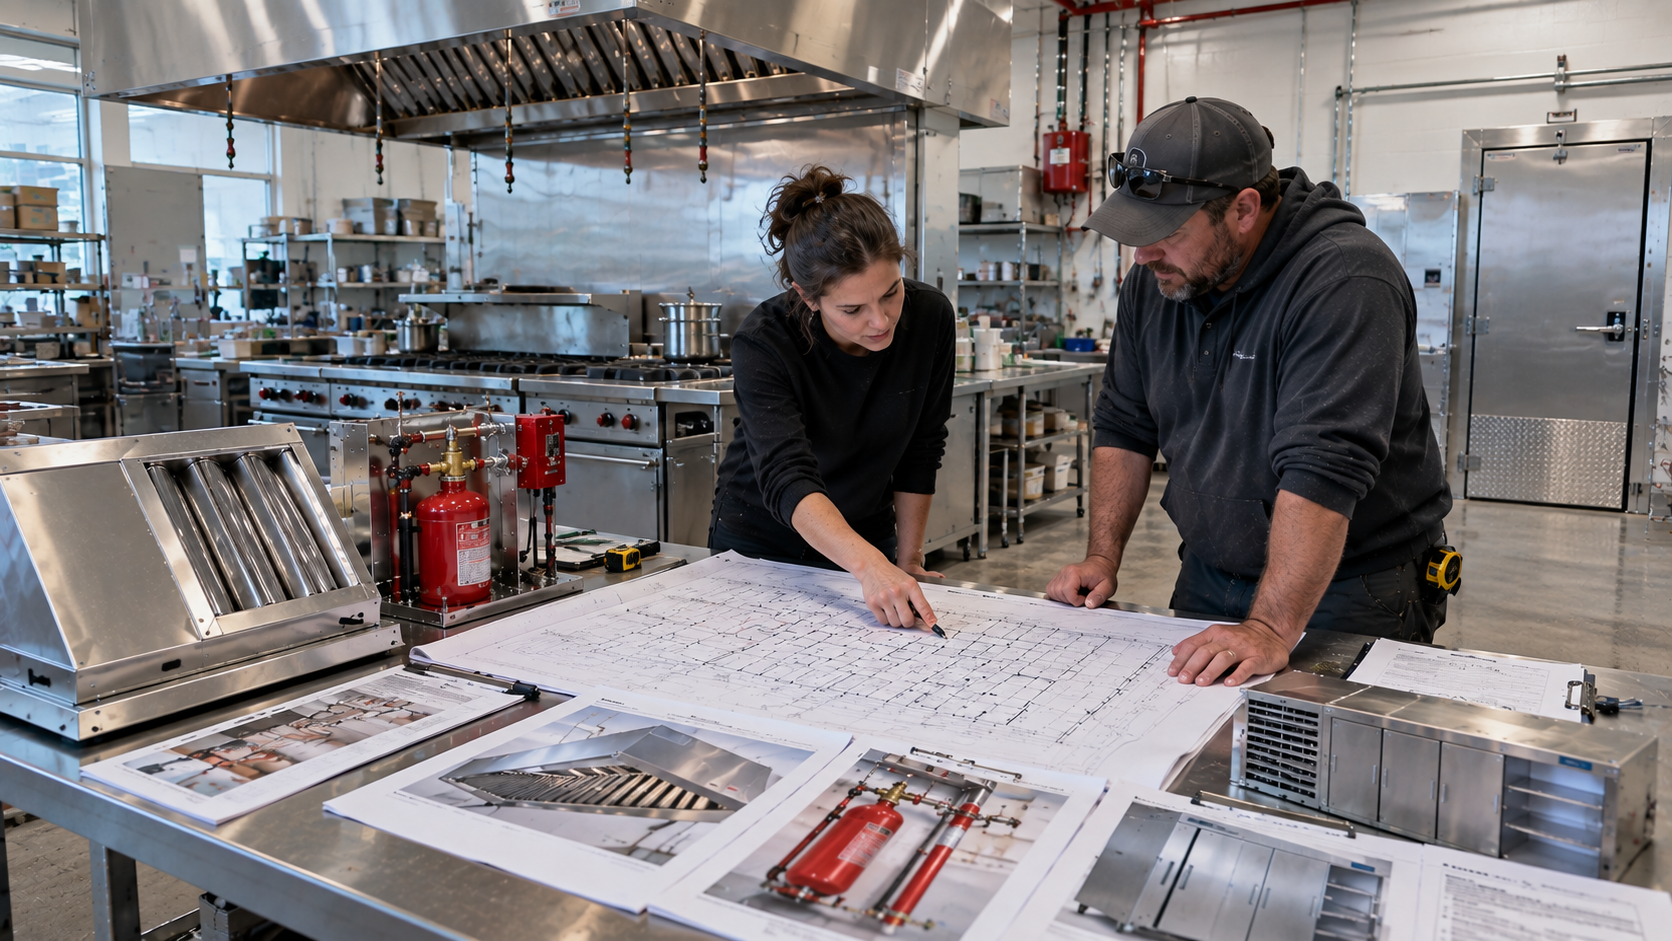
A signed lease and a rented kitchen shell feel like the finish line. In Virginia, they are closer to the starting gun. The health department, building official, and fire marshal each get a say before the first plate goes out.
Four systems tend to decide whether an opening date holds. They are the kitchen layout, the exhaust hood, fire suppression, and refrigeration.
They depend on each other. A hood that misses the ceiling, or a walk-in the floor can't hold, sends owners back to the drawing board.
This checklist walks through all four in the order decisions usually come due. It covers what Virginia reviewers look for, what to ask contractors, and what to verify before inspection day. Treat it as a working document, not a one-time read.
Start With Plan Review Before You Order Anything
Virginia food establishments go through plan review before opening. The Virginia Department of Health asks operators to submit a plan review application and fee to the local health department. At the time of writing, the listed fee is $40.
The submission includes floor plans, equipment lists, specifications, proposed menus, and Food Protection Manager credentials. New construction also needs site plans. Reviewers use these documents to confirm the layout meets the Virginia Food Regulations.
After plan approval, a foodservice permit application follows. The health department asks for it at least 30 days before opening. Build that lead time into your calendar from day one.
Plan review exists to protect your budget as much as public health. The department says it helps operators avoid costly investments in work that won't meet requirements. Buying a hood or walk-in before approval risks exactly that.
Building and fire officials run their own tracks. The local building department typically reviews mechanical, electrical, and plumbing permits. The fire marshal looks at the hood and suppression system.
Ask each office which drawings it wants before you commit to equipment. A short call early saves a rejected submission later.
The Opening Timeline at a Glance
Opening day depends on eight phases. Some overlap, but skipping one almost always costs time later. The table below shows who signs off at each stage.
| Phase | What Happens | Who Signs Off |
|---|---|---|
| 1. Concept and layout | Draft floor plan, equipment list, and menu | Owner, designer, kitchen contractor |
| 2. Plan review | Submit plans and fee to the local health department | Local health department |
| 3. Permits | Mechanical, electrical, plumbing, and fire permits as local rules require | Building and fire officials |
| 4. Rough-in | Gas, electrical, water, drains, ducts, and refrigeration lines | Licensed trade contractors |
| 5. Equipment set | Hood, suppression, walk-ins, cooking line, and ice machine | Installers and manufacturers |
| 6. Testing | Hood airflow, suppression test, and temperature pull-down | Contractors and fire official |
| 7. Final inspections | Building, fire, and health inspections | Local officials |
| 8. Permit and opening | Foodservice permit issued before first service | Health department |
Hood and suppression work often runs alongside refrigeration rough-in. The real risk is a late change in phase one. A moved fryer line can ripple through ductwork, gas piping, and nozzle layout.
Budget and Sequencing: Where Owners Lose Money
Kitchen systems fail in predictable ways. The expensive ones are rarely the equipment itself. They are the decisions made out of order.
Three patterns show up again and again:
- Ordering equipment before plan review, then redesigning around a rejected layout.
- Choosing a hood before the cooking line is final, then adding a fryer that overloads it.
- Treating refrigeration as an afterthought, then discovering no room remains for a condenser.
Each one is avoidable with a single shared equipment schedule. Keep one master list. Update it whenever any contractor proposes a change.
Kitchen Design Checklist
Lay out the kitchen in workflow zones
Good kitchens move food in one direction. The path runs from receiving to storage, prep, cooking, plating, and warewashing. Backtracking creates congestion and raises cross-contamination risk.
Draw that path on paper before choosing equipment. Then fit the equipment to the path, not the other way around. Use the checklist below as a starting point.
- Place the walk-in near the delivery door so product spends less time on the dock.
- Keep raw prep apart from ready-to-eat prep, with a handwashing sink within easy reach.
- Group heat-producing equipment under one hood run to simplify ductwork and make-up air.
- Leave service clearance around ovens, fryers, and refrigeration so technicians can reach them.
- Position the dish machine so soiled and clean flows never cross.
- Reserve space for the grease interceptor or trap your local utility requires.
- Confirm door swings, aisle widths, and ceiling height before ordering the hood.
Size utilities before you buy equipment
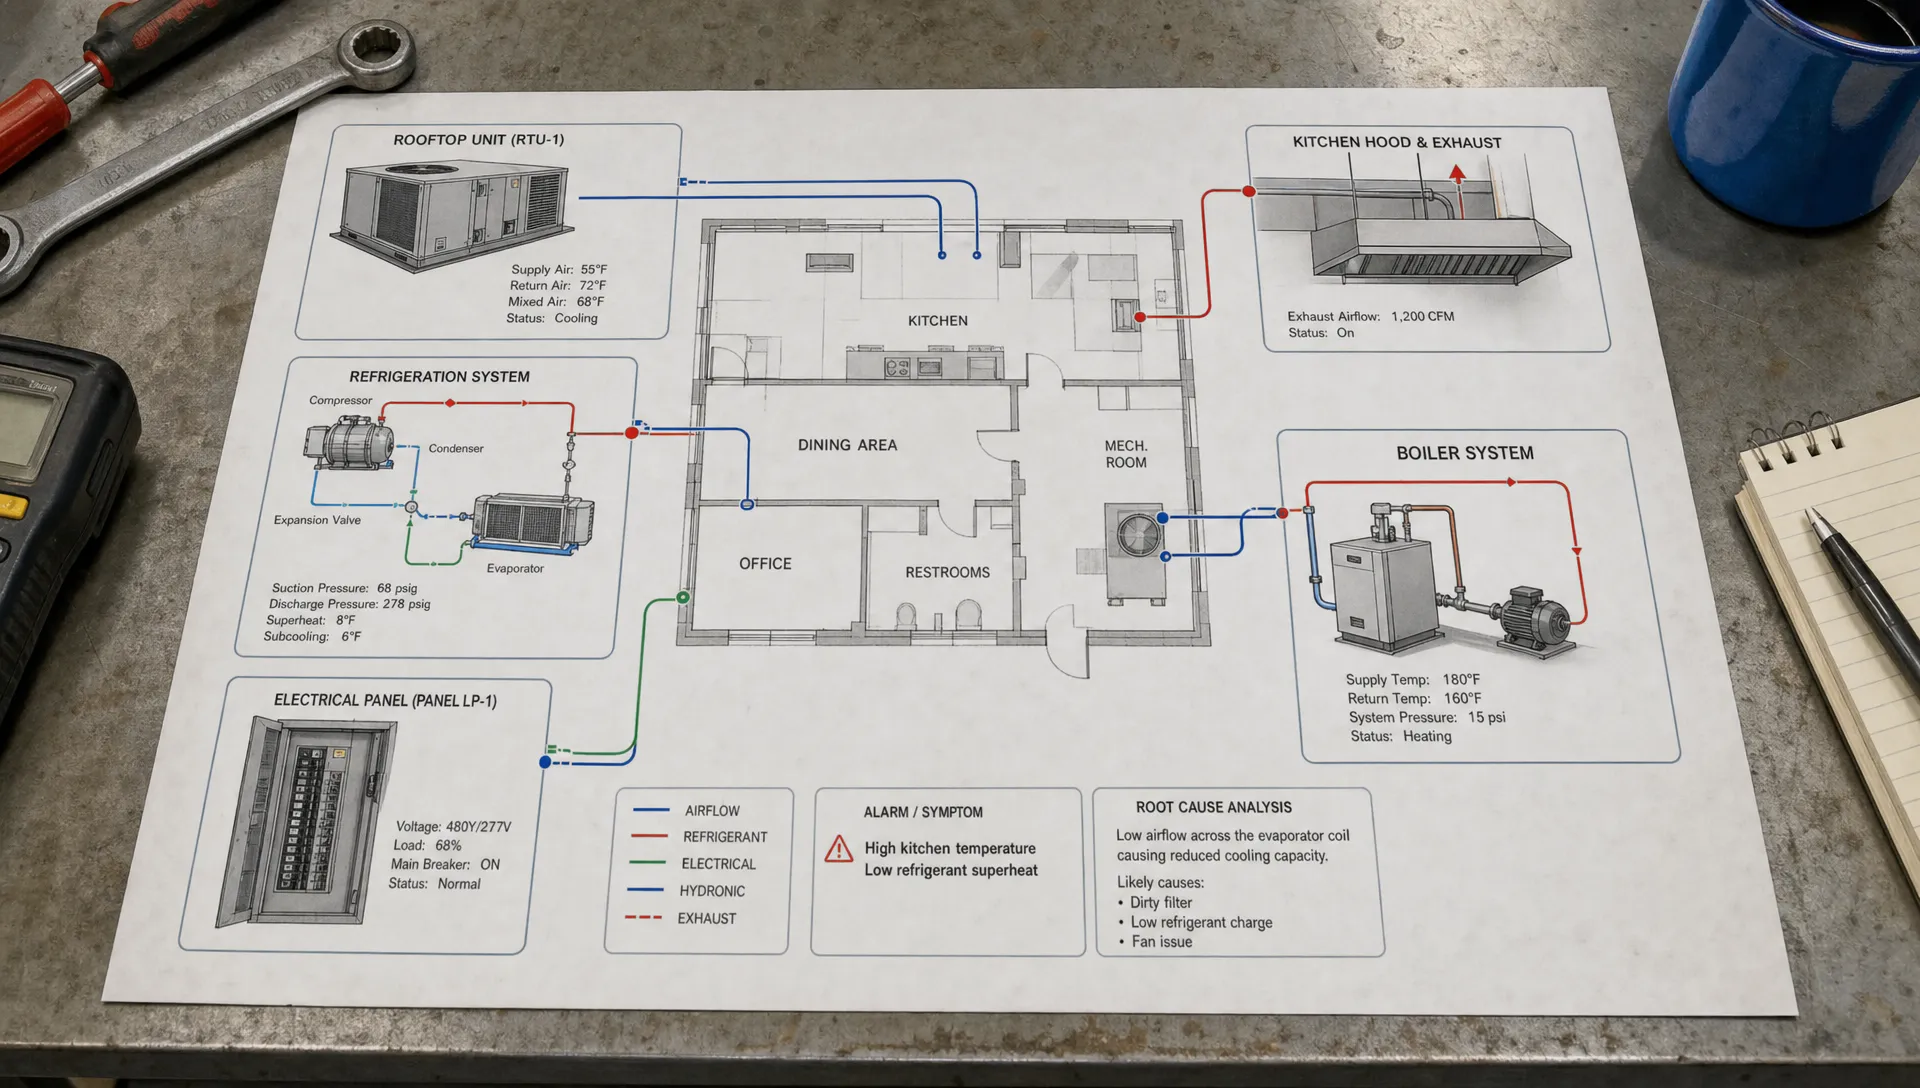
Equipment drives utility demand. A full cooking line can need large gas lines, high-amperage circuits, and extra water capacity. Send your equipment schedule to the gas, electrical, and plumbing contractors early.
A panel that can't carry a new walk-in compressor is an expensive surprise mid-build. Catching it on paper costs far less than catching it at the breaker. A single contractor can also keep these trades coordinated.
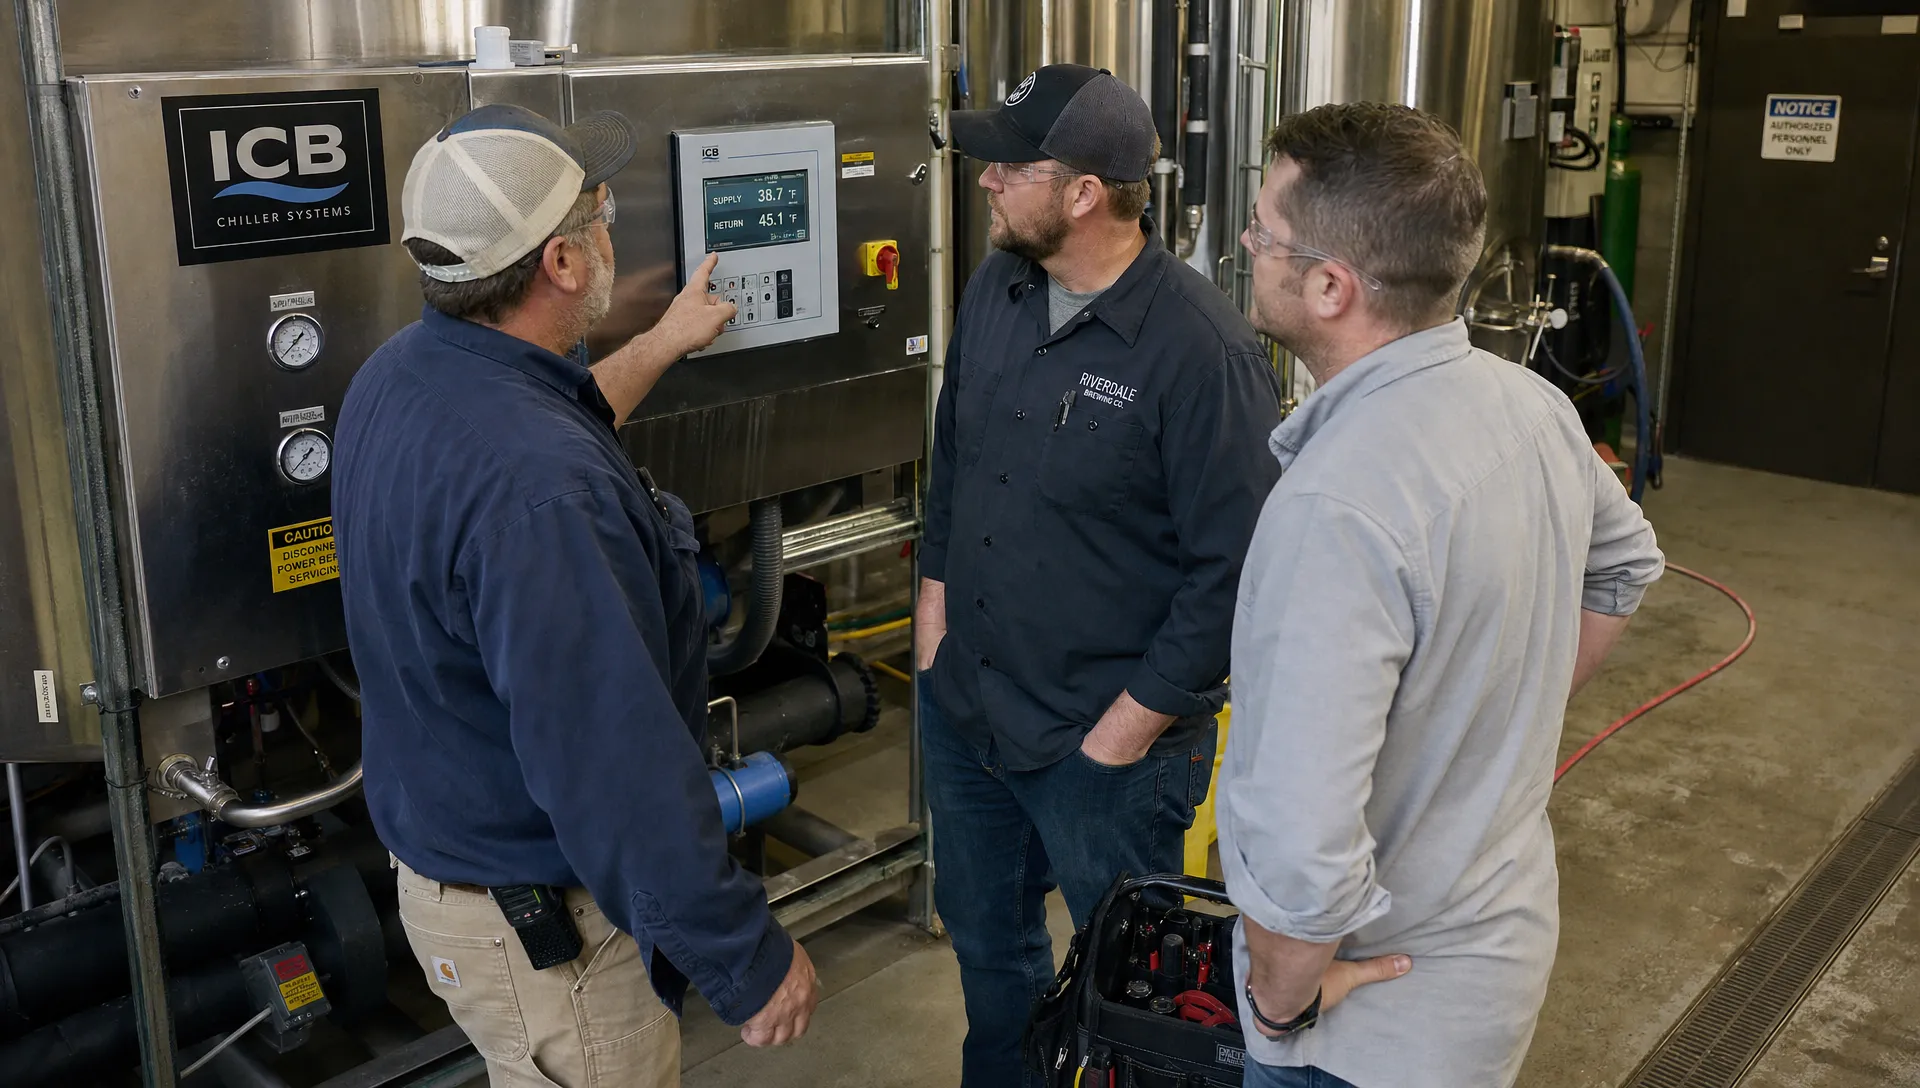
VA Commercial Repair Solutions offers kitchen start-up and design support. Its Class A license spans HVAC, refrigeration, hoods, and electrical work. That cuts the number of vendors you juggle.
Plan receiving, storage, and waste
Deliveries arrive on someone else's schedule. Give staff a clear path from the door to cold storage. Add a staging shelf so product never sits on the floor.
Dry storage needs its own space, off the floor and away from heat. Waste and grease handling need a route that avoids clean food paths. Decide where the dumpster and grease container sit before the lease is final.
Plan the sanitation fixtures
Plan reviewers expect handwashing sinks, a three-compartment sink or approved dish machine, and a mop sink. Floor drains belong wherever wet cleaning happens. Place handwashing sinks where cooks will actually use them.
Smooth, sealed surfaces make cleaning easier and inspections smoother. Stainless steel backsplashes behind cooking equipment are a common solution. They resist grease and wipe down quickly.
Exhaust Hood Checklist
The hood is usually the largest ventilation component in a restaurant kitchen. It removes heat, grease, smoke, and steam. It also shapes comfort, fire risk, and utility costs.
Pick the right hood type
Type I hoods go over equipment that produces grease or smoke, such as fryers, griddles, and charbroilers. Type II hoods handle heat and steam from equipment such as dish machines. Your equipment list decides which type you need.
Custom stainless fabrication lets a hood fit odd ceilings and tight rooms. Common styles include wall-mounted, island, eyebrow, and low-profile hoods. Low-profile designs suit trailers and kitchens with limited ceiling height.
Plan make-up air
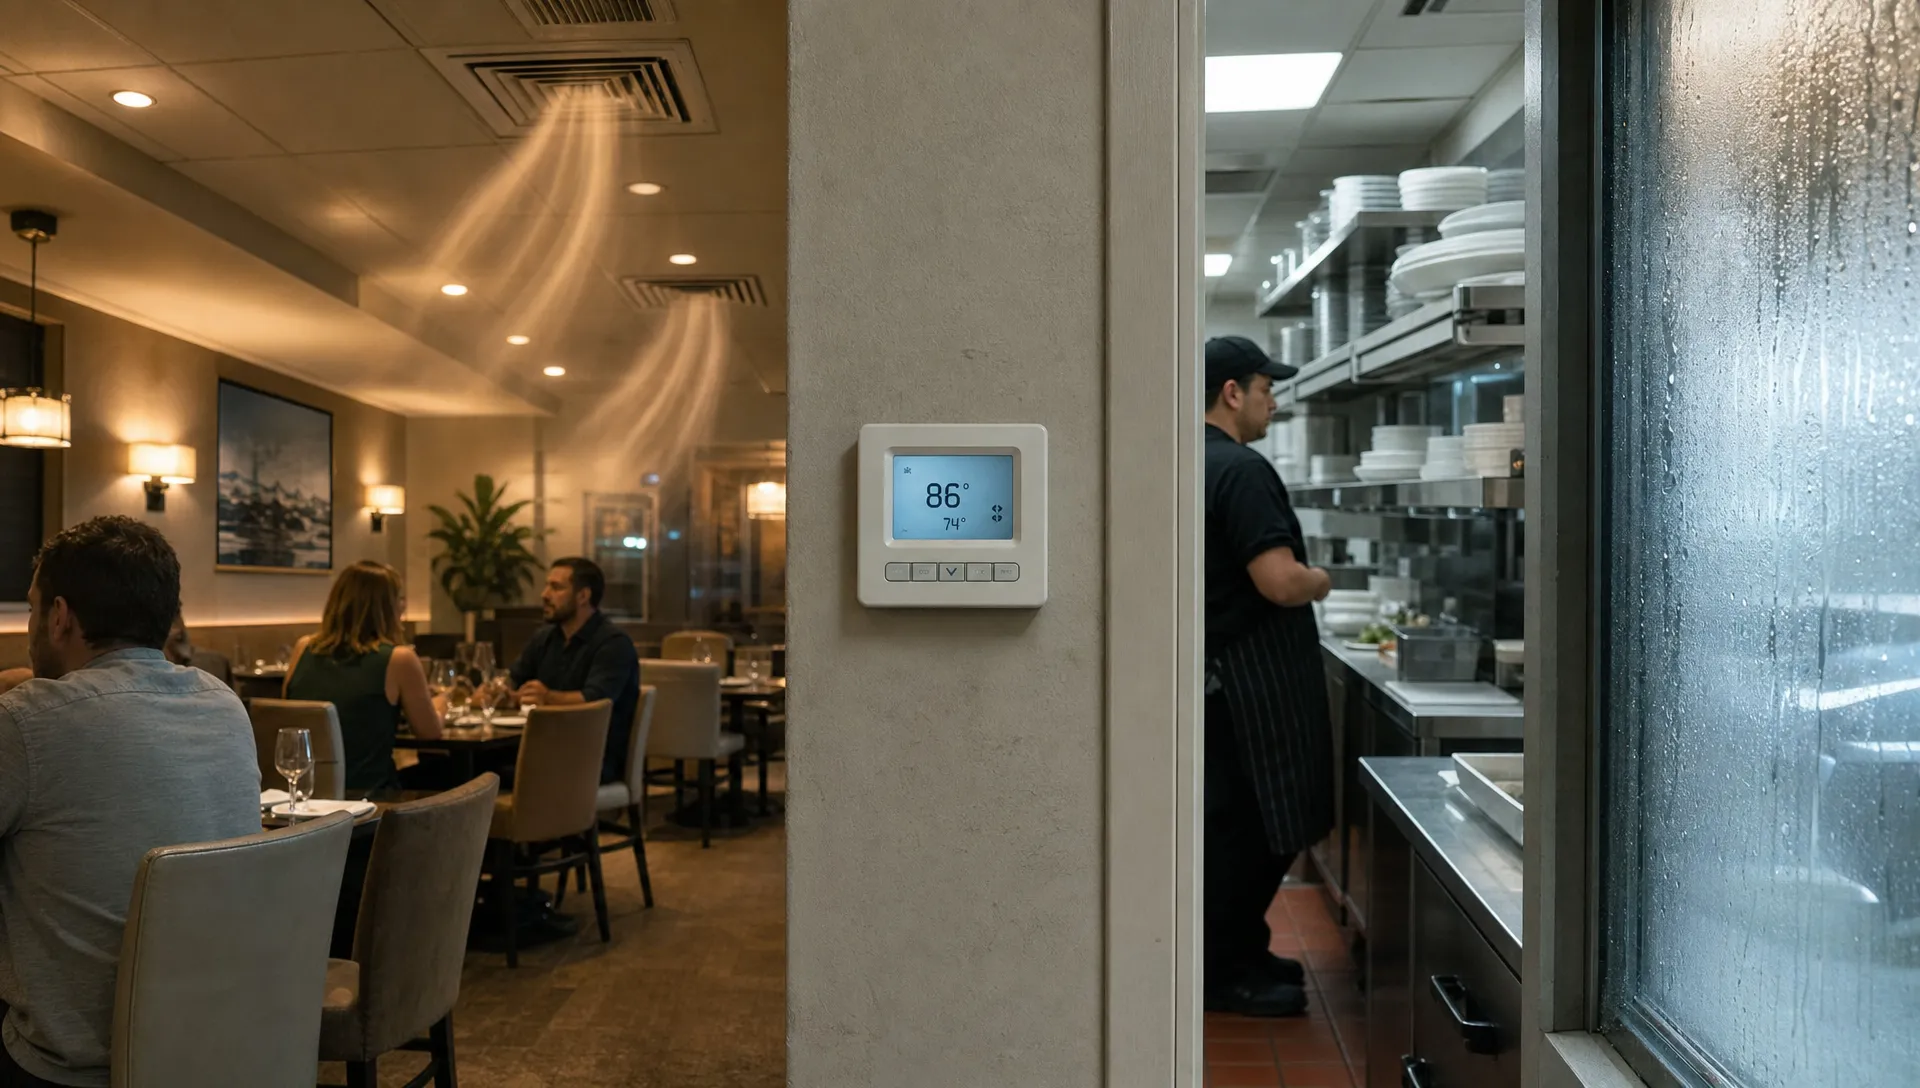
Whatever a hood exhausts, the building must replace. Without enough make-up air, the kitchen runs under negative pressure. Doors get hard to open, flames flutter, and smoke can spill into the dining room.
Ask your designer how make-up air will be supplied and tempered. Cold winter air dumped on the cooking line can chill cooks and disturb burners. Have the system balanced and the airflow tested at startup.
Check ductwork and fans
Grease ducts must resist fire and leaks. Local codes typically call for liquid-tight, welded construction with cleanout access. Confirm that the exhaust fan is rated for the application.
Rooftop fans need safe service access and a way to contain grease. Technicians will climb to that fan for years. Plan the ladder or platform now, not after the first cleaning.
Set a cleaning schedule
NFPA 96 covers ventilation control and fire protection for commercial cooking. It sets inspection frequencies by cooking volume. The commonly cited intervals appear below.
| Cooking Type | Typical Inspection and Cleaning Interval |
|---|---|
| Solid-fuel cooking | Monthly |
| High-volume (24-hour, charbroiling, wok) | Quarterly |
| Moderate-volume | Semiannually |
| Low-volume (churches, day camps, seasonal) | Annually |
Your fire official can amend these intervals, so confirm them locally. Keep every cleaning certificate on site. Inspectors and insurers may ask to see them.
VA Commercial Repair Solutions fabricates stainless steel hoods in-house. Its commercial kitchen exhaust hood installation work covers Type I and Type II systems plus exhaust fans. New hood and fan installations carry one year of free labor.
Fire Suppression Checklist
Hoods over cooking equipment need a suppression system built for grease fires. Restaurant systems use wet chemical agents designed for that purpose. NFPA 17A covers wet chemical extinguishing systems.
Install the hood and suppression system on the same schedule. That lets the fire official inspect both together. A hood without an active suppression system is not ready for service.
Use this checklist when reviewing the design and the final install.
- Cover every appliance, plenum, and duct opening with a nozzle layout that matches the equipment.
- Confirm that a system discharge shuts off gas or electric power to cooking appliances.
- Install a manual pull station along the egress path, as the fire official directs.
- Keep a Class K portable extinguisher near the cooking line.
- Schedule professional service at least twice a year, and keep dated tags visible.
- Re-evaluate the nozzle layout whenever you move or swap cooking equipment.
Once a building has its certificate of occupancy, the Statewide Fire Prevention Code governs maintenance. Local governments may enforce it. Where they don't, the State Fire Marshal's Office has the authority.
Your insurer may also set requirements of its own. Ask for them in writing before you finalize the suppression design.
Refrigeration Checklist
Cold storage protects both food safety and margins. Virginia's regulations call for cold food at 41°F or below and hot food at 135°F or above. Your refrigeration has to hold that number on the hottest afternoon of July.
Size and place the walk-in
Size the walk-in for your delivery schedule, not your opening-week menu. Too small, and staff stack product in aisles. Too large, and you pay to cool empty space.
Place it near receiving and away from the cooking line. A walk-in freezer on a slab needs floor insulation or heat to prevent frost heave. Specify the door, gaskets, lighting, and strip curtains up front.
Choose condensing units carefully
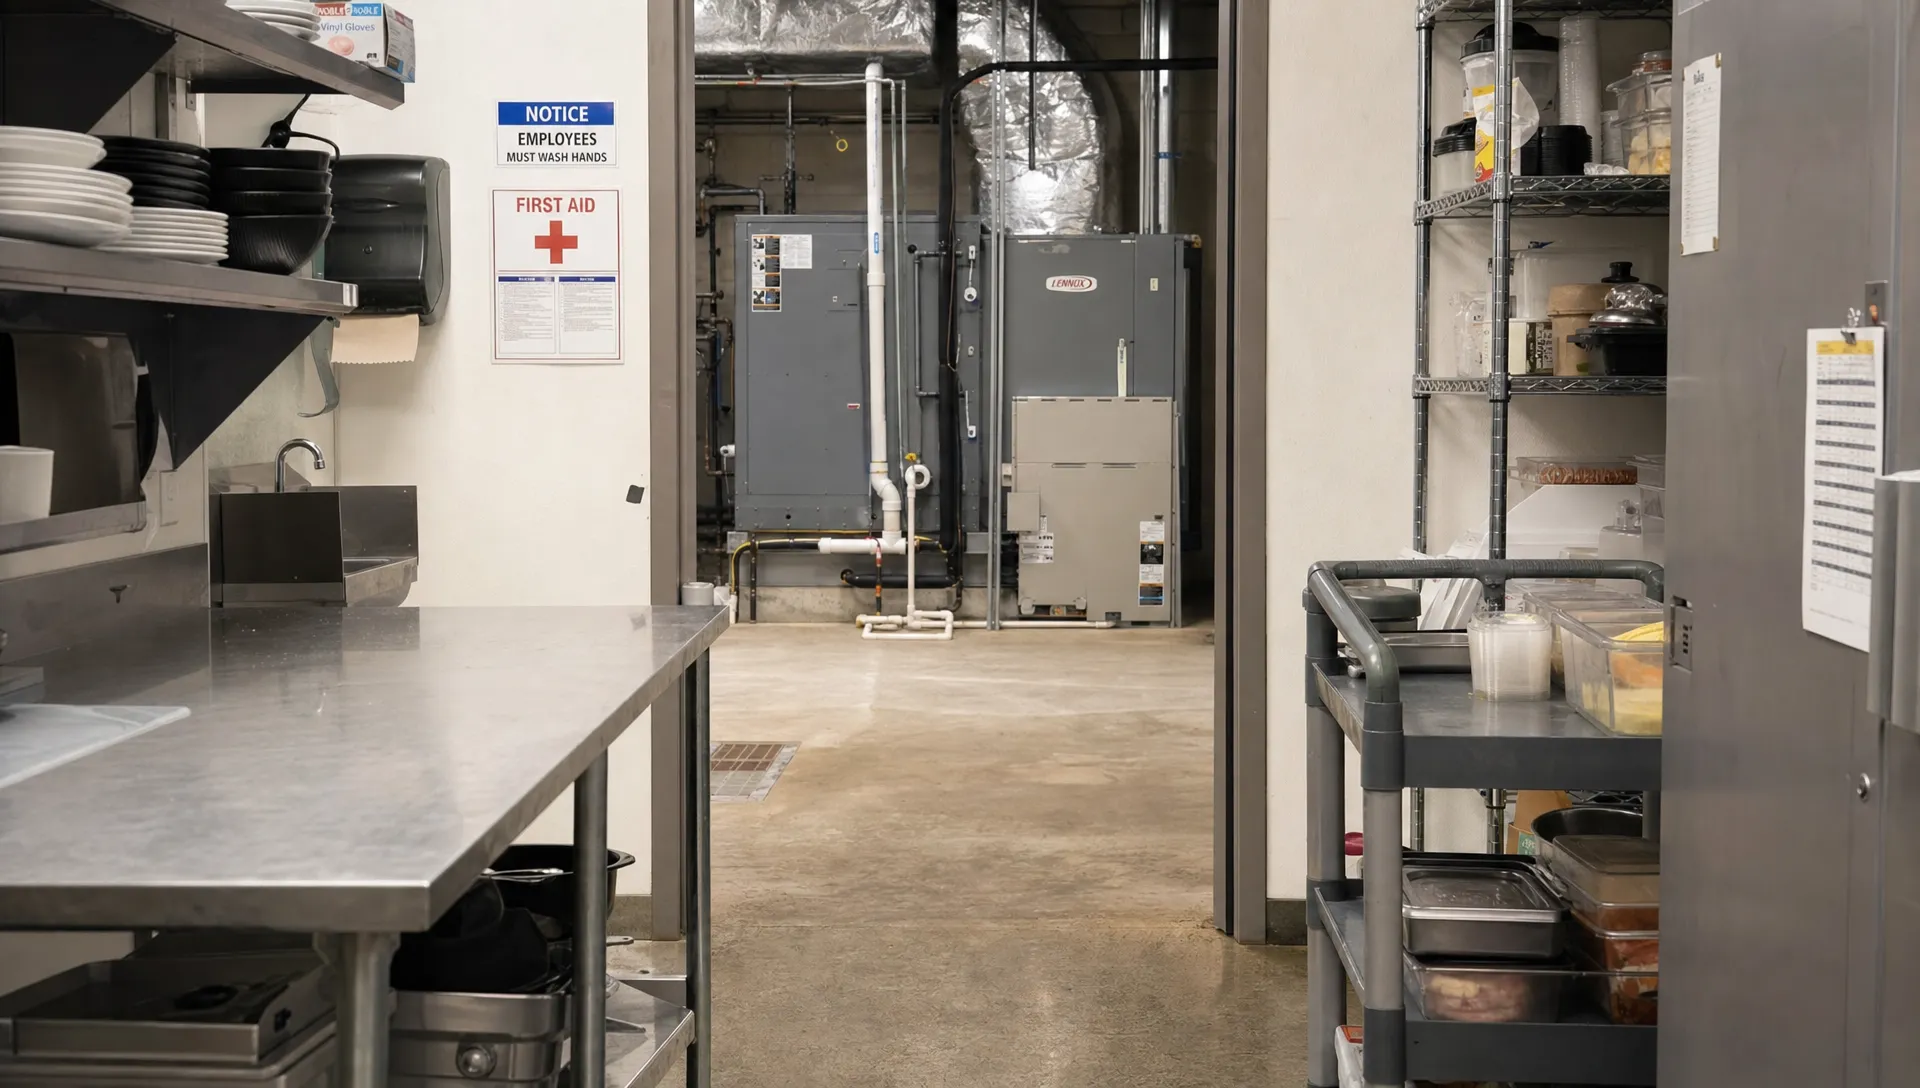
Self-contained units are simpler, but they dump heat into the kitchen. Remote condensing units move that heat outdoors or to the roof. Virginia summers punish a condenser wedged into a tight corner.
Outdoor units need shade, clearance, and winter low-ambient controls. Ask the supplier how the system performs at both temperature extremes. A system that works in April can still struggle in August.
Plan the ice machine and reach-ins
Ice machines need filtered water and an indirect drain with an air gap. Air-cooled models need ventilation clearance. Keep them away from fryers and the dish pit.
Reach-ins and prep tables need airflow around their condensers. Pushing them tight against a hot line shortens their life. Leave the gap the manufacturer specifies.
Ask about refrigerant
EPA's Technology Transitions program limits climate-damaging HFCs in specific sectors, including refrigeration. Ask suppliers which refrigerant each new unit uses. Also ask whether service parts and refrigerant will stay available.
Older systems can sometimes be converted to current approved refrigerants. That is a conversation for a licensed technician. Don't assume an inherited walk-in can simply be recharged.
Monitor and maintain from day one
Install temperature monitoring with alarms on every walk-in. An alarm at 2 a.m. can save a week of inventory.
Log readings so you can show inspectors a clean record.
Pair new equipment with a preventive maintenance plan from the start. Our guide to maintaining commercial refrigeration equipment covers coil cleaning, gasket checks, and leak detection.
Pre-Opening Walkthrough
Run this list a week before inspections. Gaps found now are cheaper to fix than gaps found by an inspector.
- Confirm the plan review approval and foodservice permit paperwork are in hand.
- Verify the hood airflow and balancing report is on file.
- Check that the suppression system has a current service tag and a passed fire inspection.
- Pull down every walk-in and reach-in to temperature, then log readings for 24 hours.
- Run every appliance under the hood at full load and watch for smoke spillage.
- Ask the installer to demonstrate fuel shutoff when the suppression system trips.
- Confirm every handwashing sink has hot water, soap, and paper towels.
- Collect warranty registrations, manuals, and cleaning schedules in one binder.
Common Questions About Opening a Restaurant Kitchen in Virginia
Do I need plan review for a remodel or takeover of an existing restaurant?
Remodels and conversions often trigger review as well. Call your local health department before any work starts. They can tell you what to submit.
Can I reuse the previous tenant's hood and suppression system?
Sometimes. An existing hood must suit your new equipment, pass inspection, and have a suppression layout that fits your cooking line. Have a licensed contractor evaluate it before you sign the lease.
When should I order the hood and walk-in?
Order after plan approval. Lead times vary by manufacturer, and custom stainless fabrication takes longer. Ask for written lead times when you request quotes.
Who inspects what?
The health department reviews food safety layout and issues the permit. The building official inspects mechanical, electrical, and plumbing work.
The fire marshal looks at the hood and suppression system. Your jurisdiction decides the exact split.
How often does fire suppression need service?
NFPA 17A calls for professional service at least twice a year. Keep dated service tags visible on the system. Ask your installer to schedule the cadence at install.
Does a food trailer or food truck follow the same logic?
The core ideas carry over. Cooking equipment still needs ventilation and fire protection sized to the build.
Low-profile hoods exist for tight ceilings. Local rules differ, so confirm requirements with your health department and fire official first.
What should I expect to pay?
Costs depend on hood size, duct length, custom fabrication, and refrigeration capacity. Get itemized quotes from at least two contractors. Compare scope line by line, not just the bottom number.
Conclusion: Build the Kitchen Once
The kitchen systems that cause the most trouble are the ones decided last. Settle the layout first, then size the utilities, hood, suppression, and refrigeration around it. Submit plans early and keep inspectors in the loop.
Treat the checklists above as a shared document with your contractors. Each system touches the others. A change to one line item often means a change to three more.
Start with plan review, keep one master equipment list, and test everything before inspectors arrive. This feels slower on paper. In practice, it prevents the rework that actually delays openings.
Opening a restaurant in central Virginia or the Shenandoah Valley? VA Commercial Repair Solutions answers its phone live, 24/7/365, at (540) 457-4822. Installation quotes are free, and new hood, exhaust fan, and refrigeration installations carry one year of free labor. Call before the lease is signed, not after the hood is ordered.