
Essential Heat Pump Repair Tips to Restore Efficiency
A commercial heat pump that's running but underperforming is one of the costlier equipment problems to overlook. The system appears functional — it cycles on, air moves through the vents — but it's working twice as hard to deliver half the output. Energy costs climb. Comfort drops. Component wear accelerates.
Unlike a system that fails completely, a heat pump losing efficiency rarely triggers an urgent call. The decline is gradual. By the time it's obvious, the compressor has been operating under stress for months and secondary damage has often occurred.
This guide covers the essential tips to diagnose efficiency loss in a commercial heat pump, the repairs you or your maintenance staff can perform safely, and the failures that require a licensed HVAC technician with the proper certifications and tools.
How Commercial Heat Pumps Work — and Why They Lose Efficiency
A heat pump doesn't generate heat. It moves it. In cooling mode, it pulls heat from inside a building and rejects it outdoors. In heating mode, it reverses that process — extracting heat from outdoor air (or ground, for geothermal systems) and moving it inside.
The reversing valve is the mechanical heart of this dual-mode operation. It's a solenoid-controlled valve in the refrigerant circuit that shifts the direction of refrigerant flow between heating and cooling modes. A reversing valve that's partially stuck, leaking internally, or failing to shift reliably is one of the most common sources of heat pump efficiency loss — and one of the most misdiagnosed.
Efficiency losses in commercial heat pumps almost always have a diagnosable mechanical cause. The U.S. Department of Energy reports that a well-maintained heat pump operates 15–40% more efficiently than one that's been neglected. That gap is almost entirely preventable with systematic maintenance and early diagnosis.
Tip 1: Clear the Outdoor Unit
Start here before any other diagnostic step. The outdoor unit is where the heat pump exchanges heat with the outdoor air. Anything blocking that exchange reduces efficiency directly and immediately.
Check the clearance around the outdoor unit. The standard requirement is at least 24 inches of unobstructed space on all sides. Vegetation, stored equipment, overgrown hedges, or debris pressed against the unit restricts airflow and forces the system to work harder to reject or absorb heat.
With the system off, inspect the coil face for embedded debris — leaves, dirt, cottonwood seeds, or grease particulates in kitchen-adjacent installations. A heavily fouled coil surface meaningfully reduces heat transfer. Professional coil cleaning with the right chemicals restores heat transfer capacity and reduces system run time. Never use a pressure washer on coil fins — the aluminum fins are fragile and bend easily, permanently reducing airflow.
Also confirm the unit is level. Heat pumps settle over time on improperly prepared pads. A unit that's significantly off-level causes uneven refrigerant distribution and oil return problems in the compressor. If the unit has shifted, a qualified technician should assess the refrigerant circuit before restarting.
Tip 2: Replace the Air Filters
A dirty air filter is the most common single cause of reduced heat pump efficiency — and the most overlooked. In commercial facilities, filters clog far faster than manufacturer replacement schedules assume. A kitchen environment, manufacturing space, or high-traffic building can destroy a filter in weeks.
Remove the filter and hold it up to a light. If you can't see light through the filter medium, it needs replacing now — not at the next scheduled maintenance visit. Also check whether the filter has collapsed or pulled away from its frame. A filter that's bypassed allows debris to land directly on the evaporator coil surface.
Replace the filter, but also check the evaporator coil itself for debris accumulation. A coil that's been operating with a bypassed or missing filter may have months of debris embedded in the fin surfaces. Coil cleaning is a technician task — but knowing the coil needs cleaning is something facility staff can identify during a filter check.
Tip 3: Verify the Defrost Cycle
Commercial heat pumps in heating mode regularly ice up at the outdoor coil in cold and humid conditions. That's normal. The defrost cycle is designed to reverse operation briefly, shed the ice, and return to heating mode.
A defrost cycle that's not running — or not completing — allows ice to accumulate on the outdoor coil. Thick ice reduces heat absorption to near zero. The system continues running, consuming energy, while delivering almost no useful heat.
Check for excessive ice accumulation on the outdoor unit during heating season. A thin layer of frost during operation is normal. A solid block of ice covering the coil is not. If ice has fully enveloped the outdoor unit, turn the system off, allow it to thaw fully, and then test the defrost cycle operation before restarting.
Defrost cycle controls — the defrost board, defrost thermostat, and defrost timer or sensor — are inside the unit and require a technician to test properly. If the outdoor unit ices repeatedly after manual thawing, the defrost controls are the next diagnostic target.
Tip 4: Inspect the Reversing Valve
Reversing valve problems produce some of the most confusing symptoms in heat pump diagnosis. A valve that's stuck in one position delivers only heating or only cooling regardless of the thermostat setting. A valve that's internally leaking delivers weak output in one mode because refrigerant is bypassing the correct circuit.
Listen for unusual sounds during mode transitions — when the thermostat switches from heating to cooling or vice versa, the reversing valve shifts and makes a distinctive sound. A valve that's slow to shift or shifts with a loud clunk is often in early-stage failure. A valve that doesn't shift at all produces no mode change.
Check for temperature differences in the suction and discharge lines during operation. Internal valve leakage causes the suction line to be warmer than normal in cooling mode (refrigerant is bypassing back to suction) or the discharge line to be cooler than normal in heating mode. These symptoms confirm a leaking reversing valve — but diagnosing them accurately requires manifold gauges and a technician who knows what the design readings should be for your specific system.
Reversing valve replacement is a licensed technician task. It requires recovering the refrigerant charge, brazing or replacing the valve in the refrigerant circuit, evacuating the system, and recharging. Do not attempt to work on the reversing valve without EPA Section 608 certification.
Tip 5: Check Electrical Components — Capacitors and Contactors
Capacitors and contactors are the electrical components most responsible for heat pump efficiency decline and starting failures. Both wear predictably over time. Both are identifiable before complete failure.
| Component | Function | Failure Signs | Action |
|---|---|---|---|
| Capacitor | Start/run boost for compressor and fan motors | Slow starting; motors run hot and draw excess current; microfarad reading 10%+ below rated value | Test with a capacitor tester; replace if 10%+ below rated — capacitor replacement is inexpensive; compressor replacement from a failed capacitor is not |
| Contactor | Controls high-voltage connection to compressor and outdoor fan | Pitted or burned contact points; voltage drops to compressor; burn marks or discoloration | Inspect visually; replace any contactor showing heat damage |
Tip 6: Test the Refrigerant Charge
This tip requires a licensed HVAC technician with EPA Section 608 certification. Do not attempt refrigerant circuit diagnosis or charging without that credential — it's a federal regulatory requirement with enforceable penalties.
Low refrigerant charge is one of the most common causes of heat pump efficiency loss. Symptoms include longer run times, reduced output in both heating and cooling modes, ice on the indoor coil in cooling mode, and the outdoor unit running without reaching setpoint. The system continues to operate while refrigerant leaks out, driving energy consumption up and output capacity down.
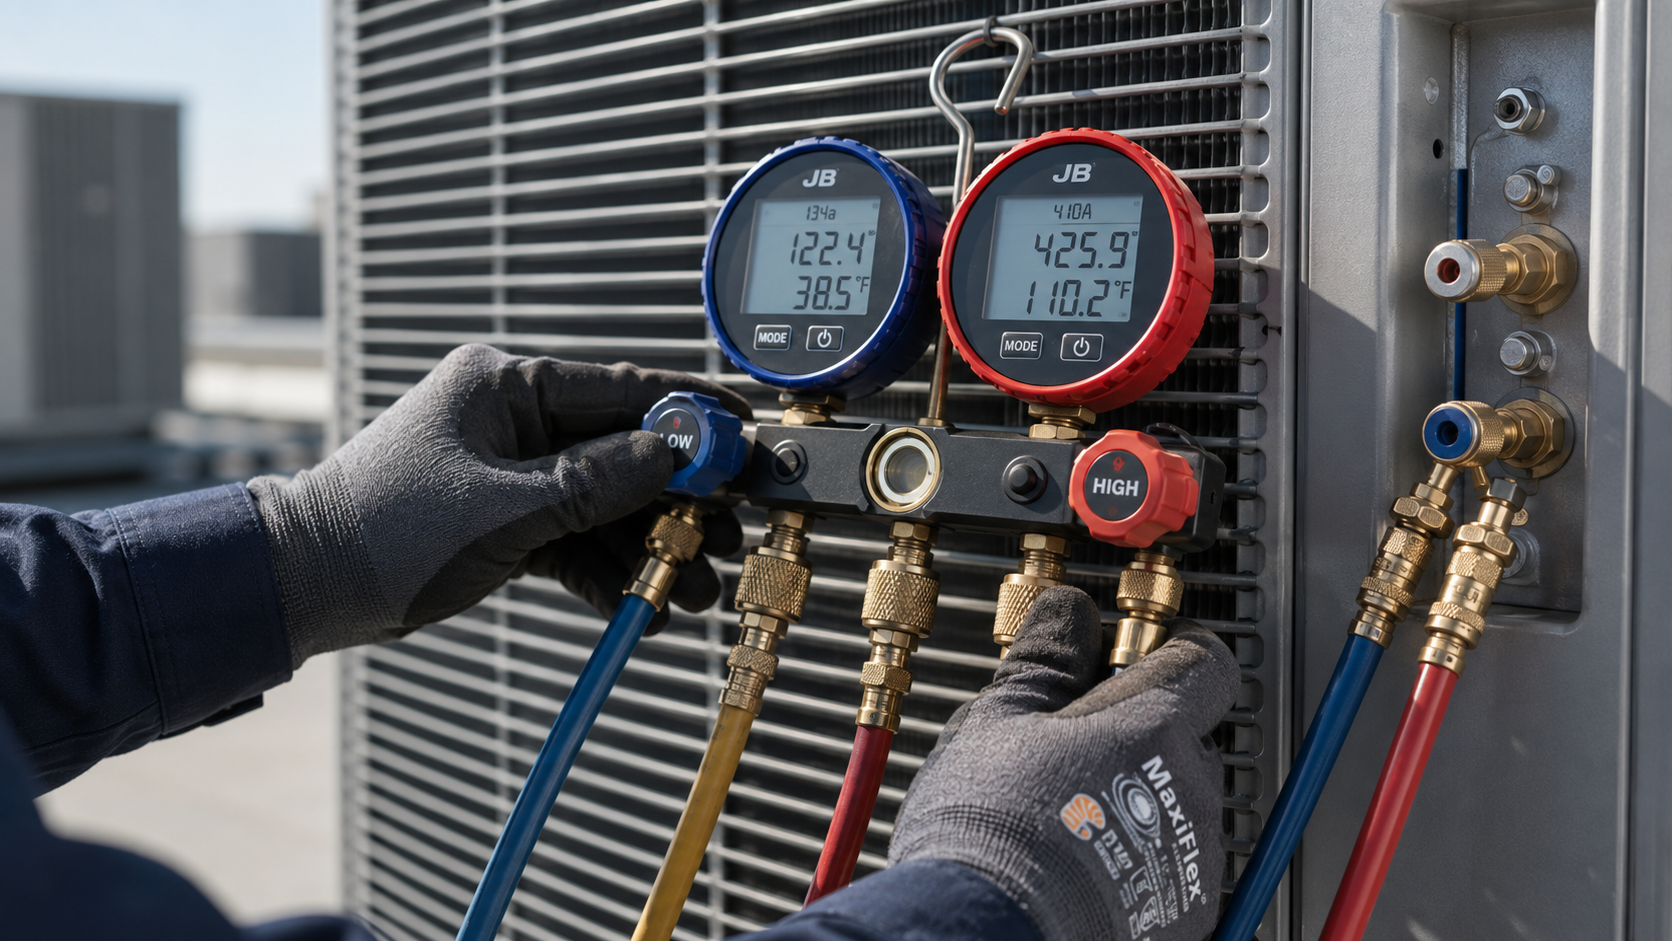
A technician will connect manifold gauges to the system's service ports and measure suction pressure, discharge pressure, superheat, and subcooling. Those readings are compared against the manufacturer's published design values for your specific system at the current ambient temperature. Deviation from spec identifies whether the issue is low charge, overcharge, a restriction, or a compressor problem.
EPA Section 608 regulations require that any refrigerant leak be found and repaired before the system is recharged. Adding refrigerant to a leaking system is illegal, and any technician who recommends recharging without locating and repairing the leak should not be servicing your equipment.
If your system was recently serviced and efficiency dropped immediately after, also consider refrigerant overcharge as a cause. Overcharge raises head pressure, reduces efficiency, and can damage the compressor. Either condition — under or over charge — requires a technician to correct.
Tip 7: Inspect the Indoor Unit and Drain System
The indoor air handler accumulates dirt, debris, and biological growth over time. A dirty evaporator coil reduces heat transfer and lowers system efficiency even when the outdoor unit is functioning perfectly. In commercial kitchens and food-service environments, coil contamination is especially fast.
Inspect the drain pan under the indoor unit for standing water. A clogged condensate drain line is one of the most frequent service issues for Virginia commercial systems during cooling season. Standing water in the pan grows mold and mildew quickly. Eventually the float switch trips the system off to prevent overflow — or water overflows onto finished ceilings and equipment.
Clear the condensate drain line by flushing with clean water from the access point. For stubborn clogs or recurring blockage, a wet/dry vacuum at the drain outlet pulls the obstruction clear in most cases. Check the drain line routing for sags or low points that allow water to pool rather than drain.
Also check the blower wheel for debris accumulation. A coated blower wheel reduces airflow volume significantly and puts mechanical strain on the motor bearing. If the blower wheel is visibly dirty, schedule coil and blower cleaning at the same service visit — the work shares access and labor time.
Tip 8: Calibrate the Thermostat and Control Settings
A miscalibrated thermostat adds unnecessary run time, inflates energy costs, and fools diagnostic checks by providing incorrect temperature data to the technician. Before calling for service, verify the thermostat settings are correct for the current operating mode.
Confirm the fan is set to Auto, not On. A fan set to On runs continuously, even when the heat pump isn't actively conditioning air. It circulates unconditioned air through the space, driving up apparent energy consumption without any corresponding increase in output.
Check the setpoint against an independent thermometer in the space. A thermostat that reads 68°F while the actual space temperature is 72°F will continue calling for cooling beyond what's needed — and will make the system appear to be underperforming when the real problem is measurement error. Also confirm the thermostat isn't in an unusual location: direct sunlight, near a heat source, or in a space with abnormal airflow all produce incorrect readings.
For commercial systems with building automation controls, check the scheduling and setback settings. An overly aggressive setback — dropping to an extreme temperature setpoint overnight — forces the heat pump to work extremely hard to recover temperature before opening time, often triggering backup electric heat strips that consume significant energy.
When to Stop and Call a Licensed Technician
Several conditions require a licensed commercial HVAC technician rather than facility maintenance staff. Know the line.
Call a technician immediately when any of the following apply:
- A circuit breaker trips and resets but trips again when the system runs
- Burning or electrical odors are present from any component
- The compressor short-cycles — starts and stops in rapid succession of less than two minutes per cycle
- You suspect a refrigerant leak from hissing sounds or visible oil at line fittings
- The reversing valve fails to shift modes
- The system runs constantly without reaching setpoint
- Any electrical component shows burn marks or visible heat damage
Attempting repairs on refrigerant circuits, capacitors, contactors, or control boards without proper credentials voids equipment warranties and creates safety risks. A licensed contractor can complete all of these diagnoses and repairs in a single visit with the right tools.
Preventive Maintenance Schedule
Consistent preventive maintenance is what keeps commercial heat pumps at rated efficiency across their full service life. Energy Star HVAC research consistently shows that regular maintenance prevents the gradual efficiency degradation that accumulates silently in neglected systems.
| Task | Standard Commercial | High-Load Environment |
|---|---|---|
| Filter inspection / replacement | Quarterly | Monthly |
| Outdoor unit cleaning | Twice/year (before cooling season + after leaf-fall) | Twice/year |
| Full technician inspection | Twice/year (spring + fall) | Twice/year (spring + fall) |
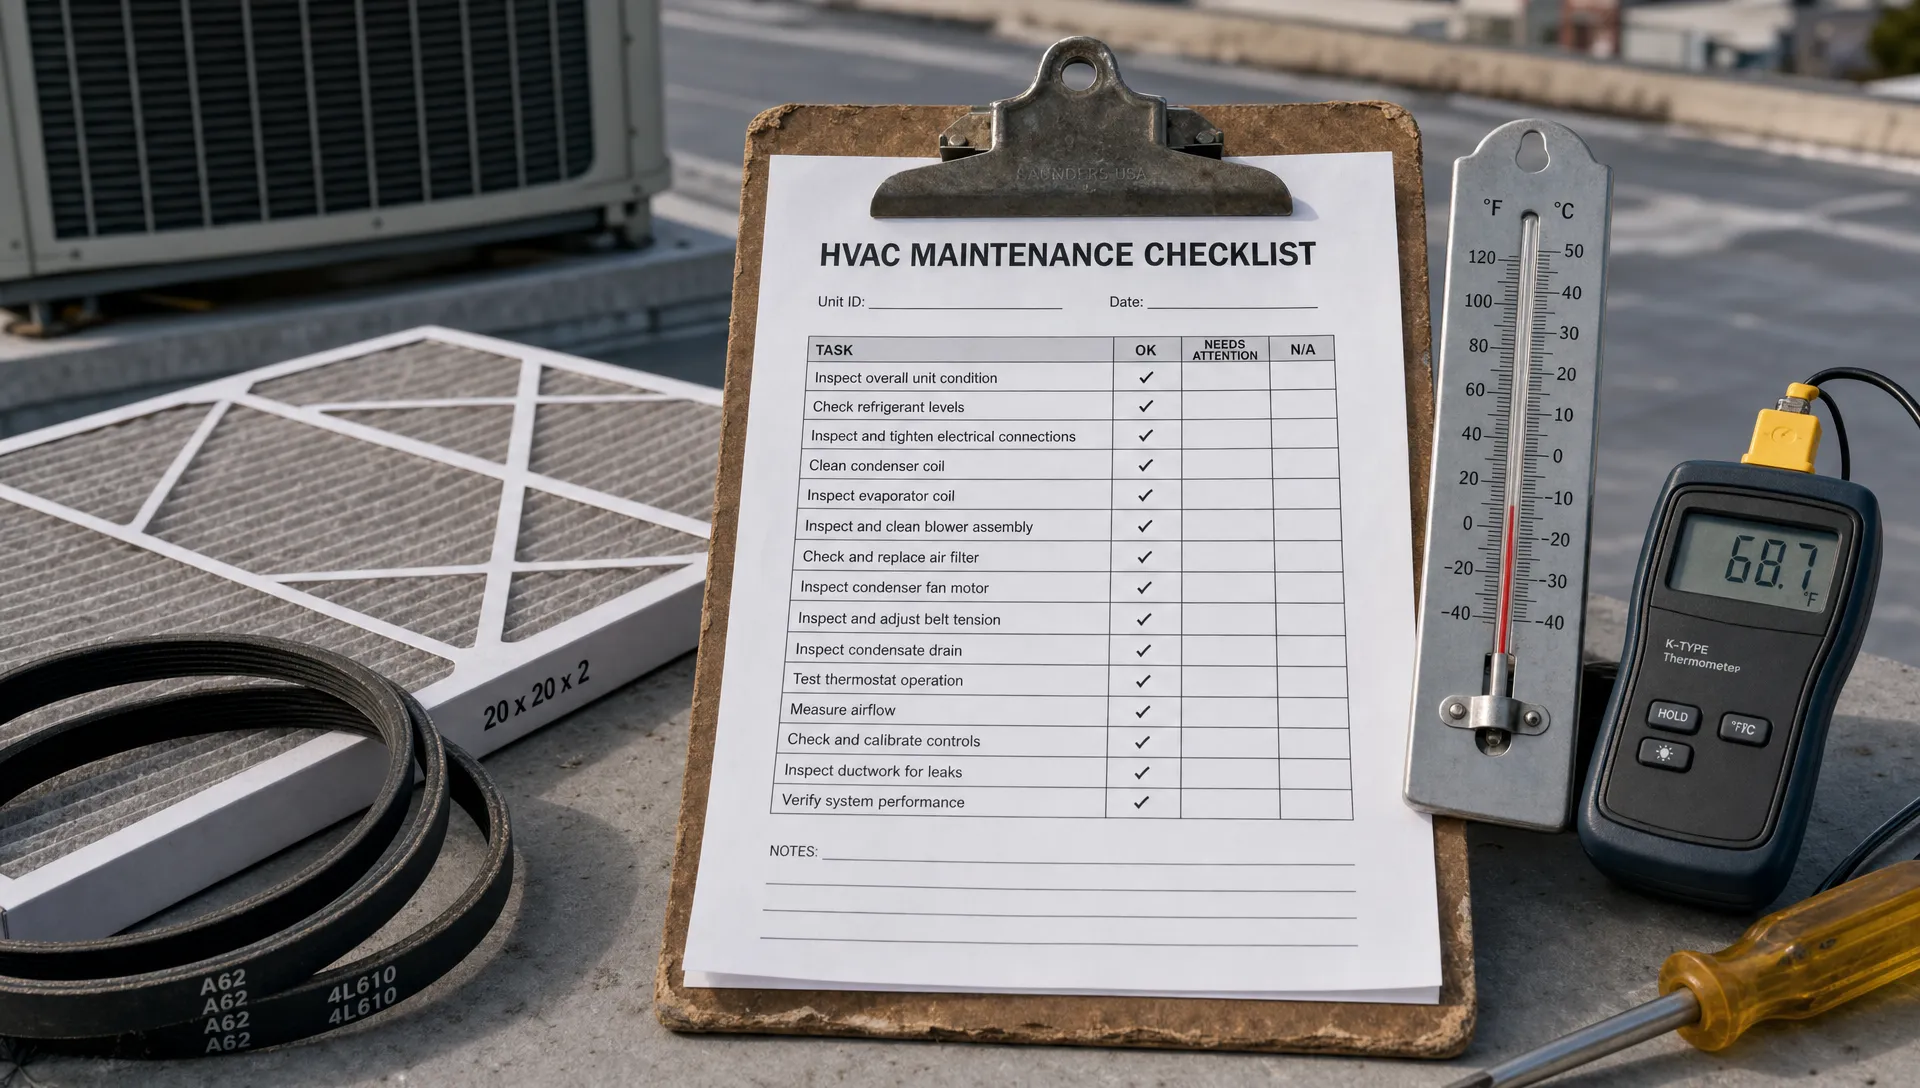
| Per-inspection checklist | Capacitor testing, contactor inspection, refrigerant pressure checks, drain pan cleaning, evaporator and condenser coil cleaning | Same |
VA Commercial Repair Solutions offers commercial HVAC maintenance plans that put this schedule on a calendar and include priority dispatch when emergency service is needed between scheduled visits. For central Virginia and Shenandoah Valley facilities running commercial heat pumps — mini-splits, ductless units, PTACs, or rooftop units — a maintenance contract prevents the gradual degradation that turns a minor repair into a compressor replacement.
Common Questions About Heat Pump Efficiency and Repair
How do I know if my heat pump has lost efficiency or is just working harder because of weather?
Efficiency decline has a measurable signature: longer run times to reach the same setpoint, higher energy bills at comparable outdoor temperatures, and reduced output temperature at the vents. Compare your system's current performance against the same period last year. If energy consumption has increased meaningfully without a change in weather pattern or setpoint, efficiency loss rather than weather load is the likely cause.
What does short cycling mean in a heat pump?
Short cycling means the compressor starts, runs for less than two minutes, and shuts off — then repeats. It causes extreme wear on the compressor and dramatically accelerates bearing and winding degradation. Common causes include refrigerant issues, an oversized system that reaches setpoint too quickly, a failing compressor, or a thermostat misread. Short cycling should be diagnosed promptly — each start-stop cycle stresses the compressor far more than a normal run cycle.
Can I add refrigerant to my commercial heat pump myself?
No. EPA Section 608 certification is legally required for refrigerant handling on all refrigerant-containing systems. This applies whether you're adding refrigerant, recovering it, or testing pressures that require opening refrigerant circuit service ports. Penalties for non-certified refrigerant handling are enforceable civil penalties under federal law.
My heat pump runs in heating mode but blows cold air. What's wrong?
Three causes account for most cold-air-in-heating-mode failures. A stuck or leaking reversing valve directs refrigerant in the wrong circuit, producing cooling instead of heating. A failed defrost cycle that hasn't cleared ice from the outdoor coil reduces heat absorption to near zero. A depleted refrigerant charge cuts heating capacity below what's needed at current outdoor temperatures. All three require a technician to diagnose accurately.
How long should a commercial heat pump last?
Commercial heat pumps from manufacturers like Carrier, Trane, and Mitsubishi typically have a rated service life of 15–20 years with proper maintenance. Without preventive maintenance, real-world service life drops to 8–12 years. The difference is almost entirely maintenance: filter changes, coil cleaning, and capacitor replacement on schedule.
When does a heat pump repair cost more than replacement?
The standard benchmark: if repair cost exceeds 50% of replacement cost on a system older than 10 years, replacement is typically the better investment. A system still under 10 years old with a single failure should almost always be repaired. VA Commercial Repair Solutions follows a repair-before-replacement philosophy and provides both cost estimates so clients can decide with accurate numbers — not just a contractor's recommendation to replace.
Conclusion: Restore Efficiency Systematically
Heat pump efficiency rarely fails all at once. It erodes — filter by filter, coil by coil, capacitor by capacitor — until a system that should be running at peak output is working twice as hard to deliver inadequate results.
The tips in this guide address the most common, diagnosable causes of commercial heat pump efficiency loss. Filter and coil problems, electrical component wear, defrost cycle failures, and control calibration issues are all identifiable and correctable. The refrigerant circuit and reversing valve are technician territory — but knowing what to ask for and what symptoms to describe gets the diagnostic process started on the right foot.
For commercial facilities in central Virginia and the Shenandoah Valley, VA Commercial Repair Solutions covers heat pump repair, maintenance, and replacement under one Class A mechanical and electrical license. They service mini-splits, ductless systems, PTACs, rooftop units, and geothermal systems — all major brands. Request a service call — live phone 24/7, no voicemail, and a written guarantee if the repair can't be completed.