August 26, 2026
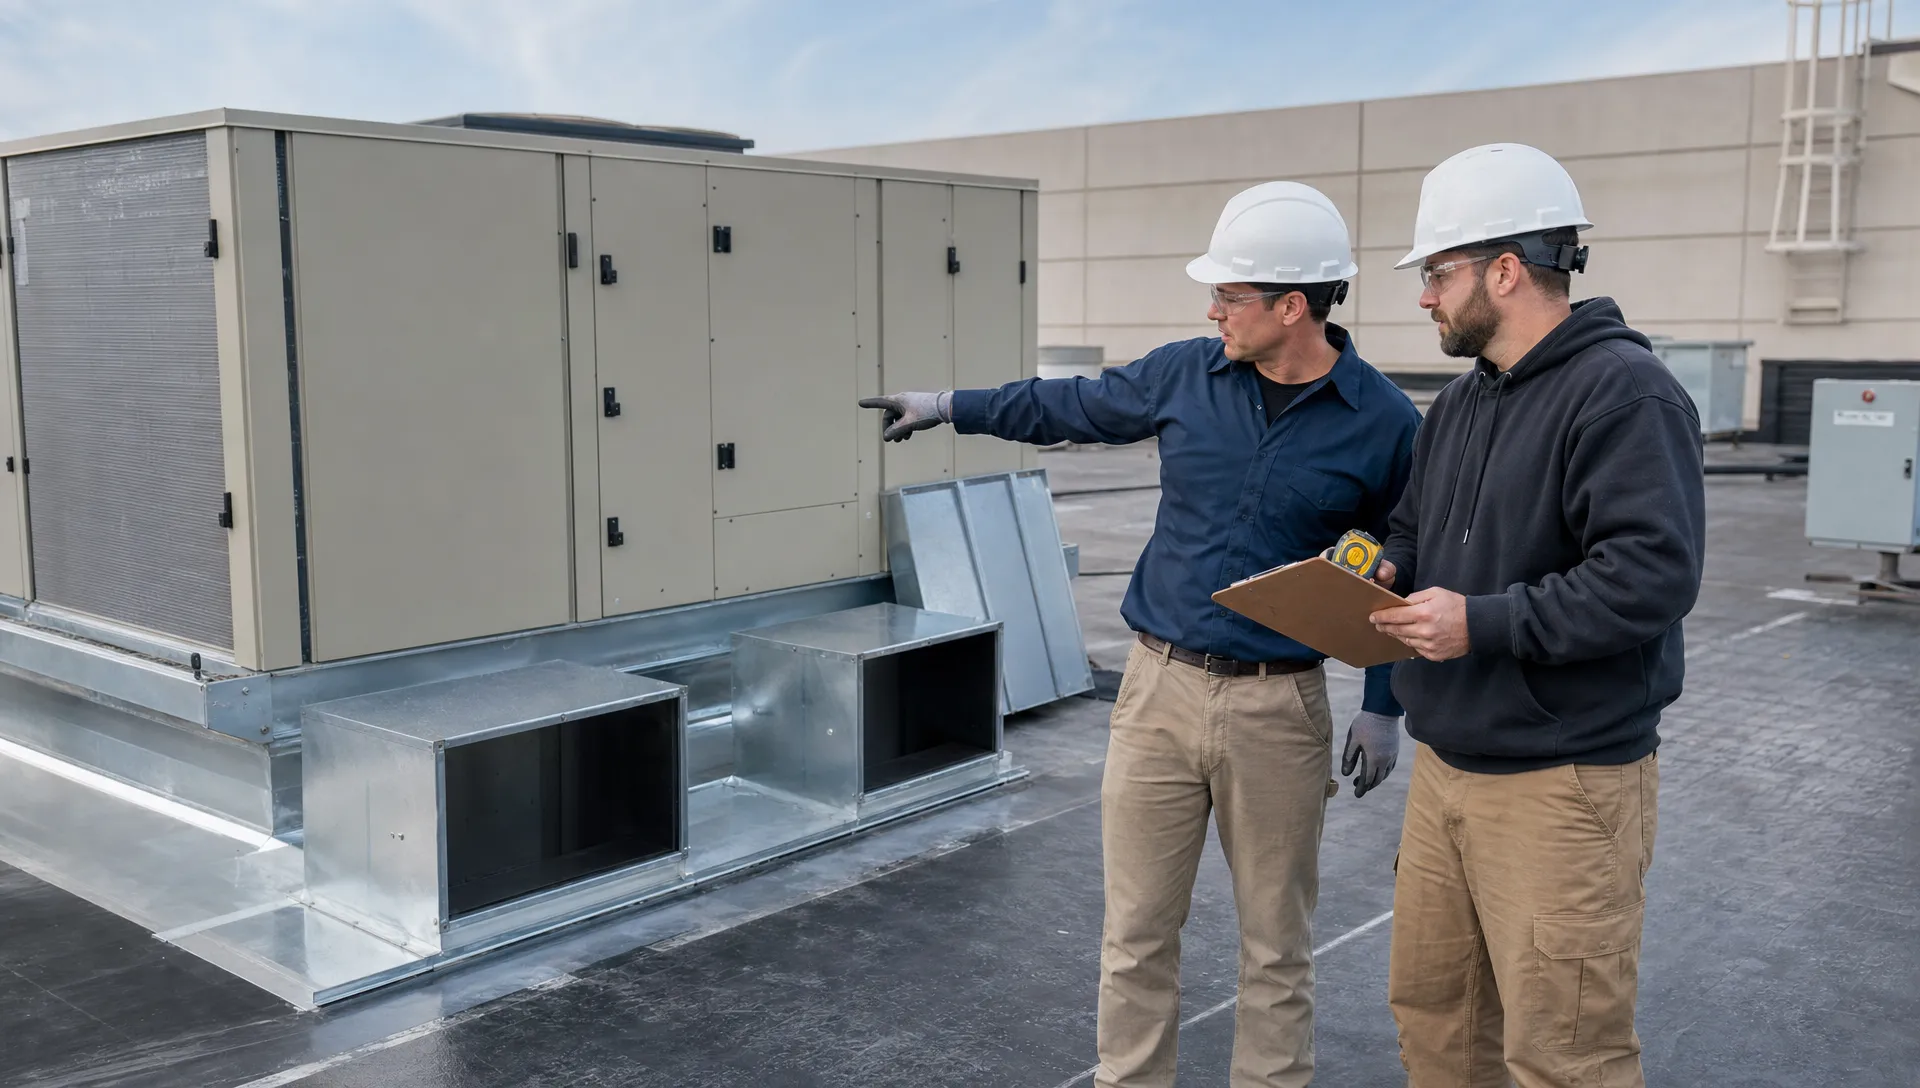
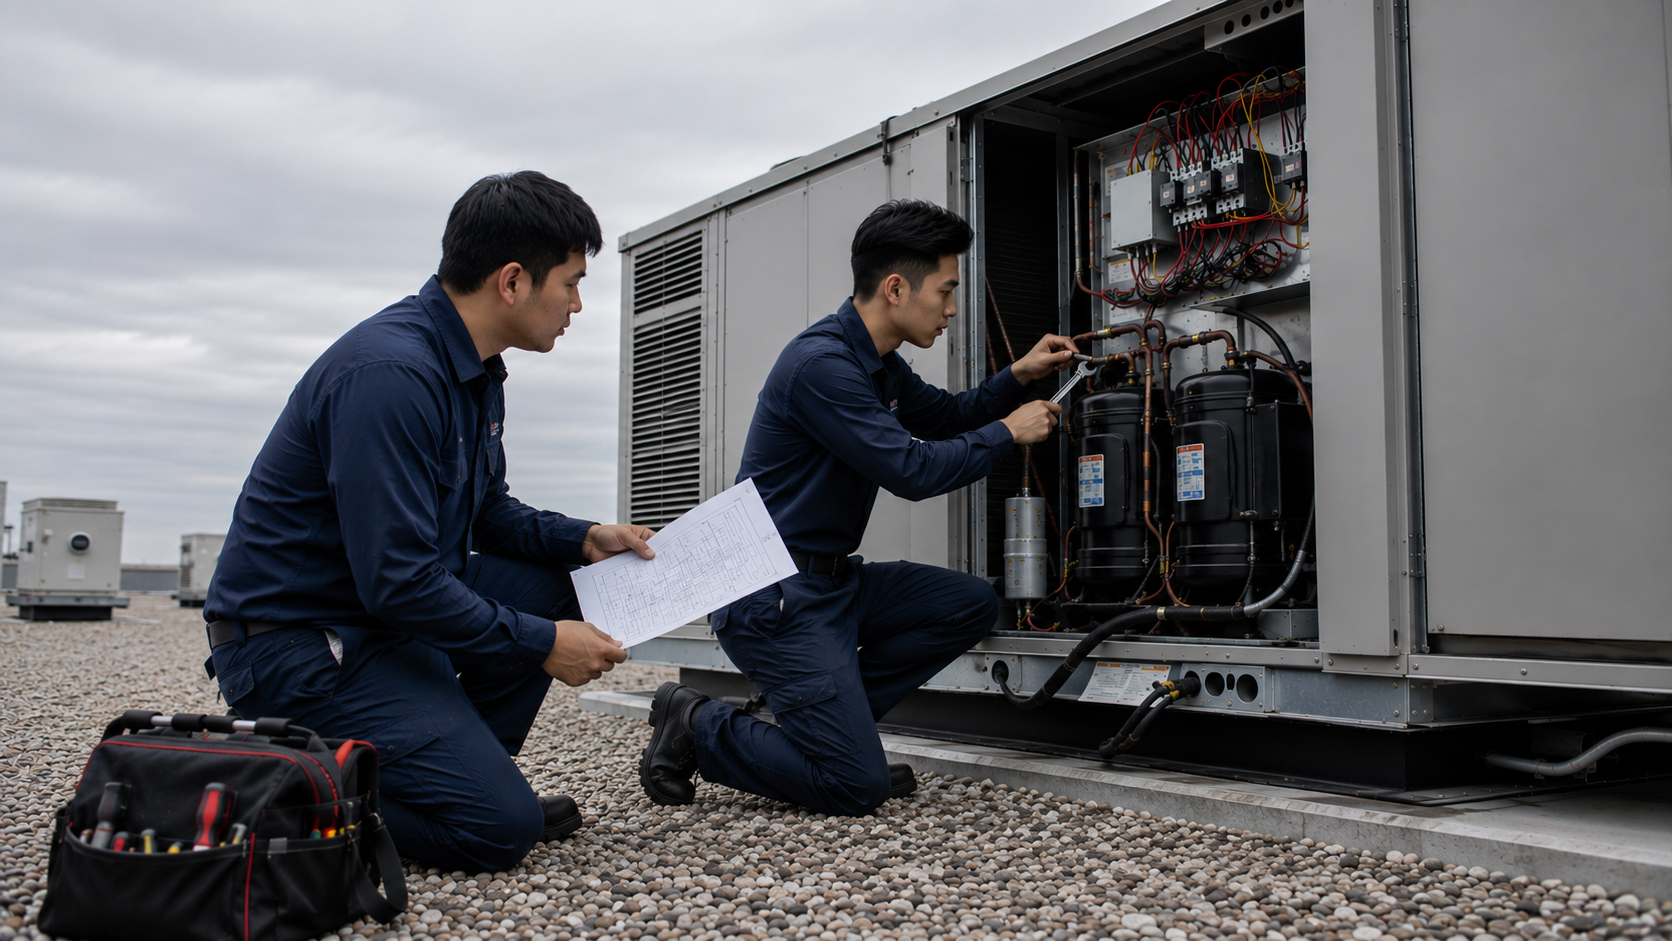
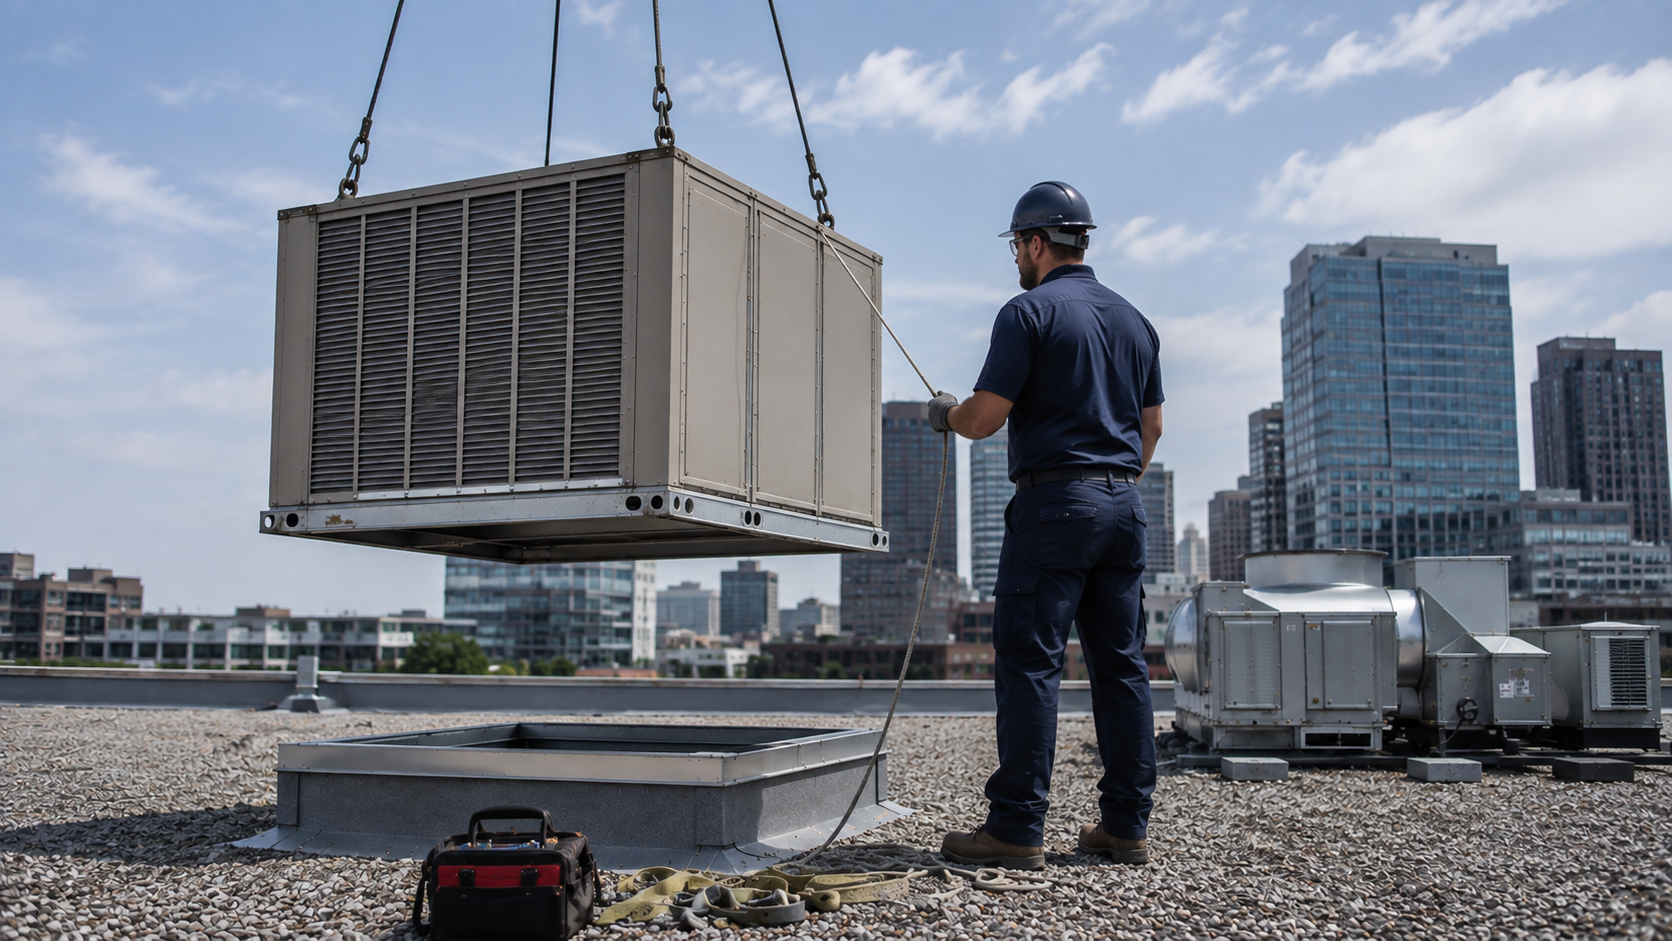
A commercial HVAC installation is not a bigger version of a residential one. Different codes, different equipment classes, and different failure costs all apply. Get any of that wrong, and you're paying for it for the next 15 to 20 years. This guide walks through the full commercial installation process, start to finish. Some steps are technical enough that only a licensed contractor should handle them. Others are decisions only you, the property owner or facility manager, can make. The stakes are real. An undersized rooftop unit runs constantly and still can't keep a kitchen or a sales floor comfortable in August. An oversized one short-cycles, wastes energy, and wears out early. Step 1: Start With a Proper Load Calculation Every commercial installation should start with a load calculation, not a nameplate match. Too many contractors simply replace old equipment with the same tonnage, even if the original system was never sized correctly. That approach carries forward every past mistake into your new system. Commercial load calculations use ACCA Manual N , the industry standard for non-residential buildings. It accounts for factors a residential Manual J calculation ignores entirely. Kitchen equipment heat output, occupancy density, exhaust hood make-up air, and window orientation all change the number. A restaurant kitchen with heavy cooking equipment needs far more cooling capacity per square foot than an office. A vineyard tasting room with a wall of south-facing windows carries a different load than a warehouse with none. The calculation has to reflect the building you actually have — not a rule of thumb. Step 2: Choose the Right Equipment Type for the Building Commercial buildings use several distinct equipment types. The right choice depends on the building, not on personal preference or what was easiest last time. Rooftop units (RTUs): The standard choice for retail, restaurant, and office buildings with flat roofs. All the major components live in one weatherproof cabinet on the roof, out of the way of usable floor space. Installation requires structural rooftop calculations and, on multi-story buildings, crane rigging. Split and central systems: These separate the outdoor condenser from an indoor air handler, connected by refrigerant lines and ductwork. They work well in smaller commercial spaces that already have ductwork in place. Retrofitting ductwork into a building that never had it adds significant cost. Mini-split and ductless heat pumps: These mount a wall unit indoors, linked to an outdoor compressor with no ductwork. They suit additions, retrofits, or buildings with exposed structural ceilings. Multiple indoor heads can run off one outdoor unit, giving each zone independent control. PTACs: These are the through-the-wall units you'll recognize from hotel rooms and small commercial spaces. Each unit heats and cools its own room independently, with no shared ductwork or central plant. That makes them the standard choice for hospitality properties where every room needs its own control. Geothermal systems: These trade a conventional outdoor condenser for buried ground loops that exchange heat with the earth. They cost more upfront but deliver lower operating costs over the system's life. For large facilities planning long-term ownership, the payback period can make sense. Whatever equipment type fits your building, ask about the brand's local service network before you commit. A system from a major brand — Carrier, Trane, Lennox, Bryant — is easier to service quickly if parts fail. A no-name brand with no local distributor relationship can turn a simple part swap into a weeks-long wait. Step 3: Understand Today's Refrigerant Rules Refrigerant rules changed significantly under the AIM Act , and installation is where those rules matter most. The EPA is phasing down high-GWP refrigerants like R-410A in favor of lower-GWP alternatives. New commercial equipment increasingly ships pre-charged with these newer refrigerants instead. Ask any installer directly which refrigerant a proposed system uses and why. Newer low-GWP refrigerants like R-454B are mildly flammable, a class the industry labels A2L, which changes handling and service-line design. A technician unfamiliar with A2L equipment is a liability on your rooftop, not just an inconvenience. Whoever installs your system must hold EPA Section 608 certification to legally handle refrigerant. That's federal law, not a nice-to-have credential. Ask for the technician's certification number before the first fitting gets connected. Step 4: Verify Licensing and Permits Before Anyone Touches the Roof Virginia licenses contractors in three classes, and the class matters for a commercial project. Class A licenses cover projects of unlimited value; Class B caps at $120,000, Class C at $10,000. Most commercial HVAC installations exceed the Class B ceiling, so confirm Class A before signing anything. Virginia also created a new Residential HVAC Mechanic license in 2025 with lighter training requirements. That license explicitly prohibits commercial work — it exists as a stepping stone toward full journeyman status. A contractor holding only this credential cannot legally install your system, regardless of experience. Verify any contractor's license and specialty codes directly through Virginia's license lookup before work begins. Confirm the HVAC or mechanical specialty is listed, not just a general contractor designation. Then pull the local mechanical permit — most jurisdictions require inspection at rough-in and again at final startup. Government and institutional projects add another layer: bidding eligibility. Facilities working with state or municipal contracts should confirm their contractor holds S.W.A.M. and eVA certification. Without it, an otherwise qualified contractor may be unable to bid the job at all. Insurance matters just as much as licensing. Ask for a certificate of general liability insurance and proof of workers' compensation coverage before the crew arrives. If a technician is injured on your property without workers' comp, you could be held liable. Step 5: Schedule Installation Around Your Operating Hours Installation timing affects your business as much as the technical details do. A restaurant, retail store, or hotel can't simply close for a week while equipment gets swapped. Ask your contractor whether major work can happen after hours, overnight, or in phases. RTU replacements often happen with the old unit running until the new one is set and ready to connect. That staging minimizes the actual downtime window to hours, not days. For multi-zone buildings, phasing zone by zone keeps at least part of the facility comfortable throughout. Confirm the installation date against your business calendar, not just the contractor's. A restaurant scheduling major HVAC work the week before a health inspection is taking on unnecessary risk. Build in a buffer for delays from permitting, weather, or backordered parts. Step 6: Plan the Ductwork and Airflow Design Before Equipment Arrives Ductwork design is where many installations go wrong — not the equipment itself. Undersized or poorly routed ductwork can cripple even a perfectly sized, top-tier unit. Airflow has to match the equipment's rated capacity, or you lose efficiency before the system runs a full season. Kitchens complicate duct design further. Type 1 hoods handle grease-producing equipment; Type 2 hoods handle steam and heat only. Both exhaust large volumes of air, which must be replaced with make-up air. Skip that make-up air, and the kitchen runs at negative pressure. Doors stick, exterior doors won't close properly, and the exhaust fan fights unbalanced pressure. A ductwork plan that accounts for hood volumes from the start avoids this entirely. Ask whether your contractor fabricates ductwork in-house or subcontracts it out. In-house fabrication means faster turnaround and one point of accountability if a run doesn't fit. After installation, insist on airflow balancing — measured, not estimated — before signing off on the job. Step 7: Budget for the Full Installation, Not Just the Equipment Commercial HVAC pricing rarely means one number for one box on the roof. The unit itself is often the smallest line item once everything else is added up. Ductwork, electrical or gas hookups, structural work, and controls all add to the total. Older buildings frequently need an electrical service upgrade to support new equipment, especially 3-phase power for larger units. Rooftop installations on multi-story buildings often require crane rigging, which adds a scheduled, weather-dependent step to the project. None of these costs show up if you only ask for "the price of a new unit." A written estimate should itemize equipment, ductwork, electrical or mechanical work, permits, and disposal of the old system separately. That itemization is what lets you compare quotes from different contractors fairly. A number with no breakdown is a number you can't evaluate. Since commercial pricing varies so much by building, VA Commercial Repair Solutions doesn't publish flat rates online. It quotes installation work for free after walking the site — the right model for pricing this variable. A flat online number for a category like this is usually a lowball designed to get you on the phone. Step 8: Confirm What's Bundled — Controls, Warranty, and Registration Ask exactly what's included in the installed price beyond the equipment itself. A WiFi thermostat and an in-duct air purifier add real value when they're bundled in, not upsold later. Confirm whether labor to install those add-ons is separate or already covered. Labor warranty length is a real differentiator between contractors. A full year of free labor on a new installation protects you from callback fees. That matters if something needs adjustment in the first few months of operation. Equipment manufacturer warranties are separate from labor warranties, and they usually require registration within a set window after installation. A good contractor registers that paperwork on your behalf, as part of the job. Ask who's responsible for filing it, and get confirmation once it's done. Step 9: Commission the System Before You Sign Off Installation isn't finished when the equipment turns on — it's finished when it's verified to work correctly. Commissioning means the technician measures actual airflow, refrigerant charge, and temperature split against the design numbers. Insist on this step, in writing, before final payment. Ask for a written startup report: refrigerant pressures, temperature readings at supply and return, and airflow measurements by zone. That report becomes your baseline for every future service call. Without it, a technician five years from now is diagnosing blind. Schedule the final building inspection only after commissioning is complete, not before. An inspector checking an unbalanced, improperly started system can miss problems that surface under real load. Get commissioning data in hand, then call for inspection. Installation Considerations for Specialized Facilities Standard installation steps apply everywhere. But certain facility types carry extra requirements that are easy to miss until the system is already running. Plan for these before equipment arrives, not after the first service call. Restaurants and commercial kitchens: New HVAC has to coordinate with the exhaust hood and fire suppression systems already in place. A new AC or RTU installed without accounting for hood exhaust volume will fight a losing battle against negative pressure. Time the installation around health inspection dates — a kitchen without functioning climate control can fail an inspection outright. Microbreweries and vineyards: These add process cooling on top of comfort cooling. Brite tanks, fermenters, and glycol chilling systems generate and require heat loads a standard load calculation doesn't anticipate. A contractor without brewing-specific equipment experience may size comfort cooling correctly while missing the process loads entirely. Agricultural and food processing facilities: Poultry plants, dairies, and cold-storage facilities need HVAC coordinated tightly with electrical and refrigeration work. These facilities often run 3-phase power for heavy machinery alongside industrial refrigeration for perishable inventory. A single contractor licensed across electrical, HVAC, and refrigeration removes the guesswork of coordinating three separate vendors on one job. Hospitality properties: Hotels and motels installing or replacing PTAC units need a plan that minimizes room downtime. Because each PTAC serves one room, installation can often be phased a few rooms per day, without closing the property. That phasing matters more to a hotel's revenue than almost any other scheduling decision in this guide. Common Questions About Commercial HVAC Installation How long does a commercial HVAC installation take? Timeline depends heavily on scope. A straightforward RTU swap on an existing curb can take one to three days. A full system replacement with ductwork and electrical changes can take several weeks, especially with permitting or crane-rigging delays. Do I need a commercial-specific contractor, or will any licensed HVAC company do? Not every licensed HVAC contractor is equipped for commercial work. Virginia's newer Residential HVAC Mechanic license explicitly excludes commercial installations, and even a Journeyman license doesn't guarantee commercial experience. Ask specifically about commercial project history, not just license status. How do I know if I should repair my current system instead of installing a new one? If a repair costs 50% or more of replacement value on a system over 10 years old, installation wins financially. An older system with repeated failures often costs more in emergency repairs than a planned installation would. A contractor should show you both numbers before you decide. Should I add smart controls while I'm already installing new equipment? Installation is the easiest time to add smart controls — the labor is already scheduled. A WiFi thermostat and zone controls let you monitor and adjust temperature remotely across multiple properties. Ask whether your installer bundles these at cost, since retrofitting them later usually costs more in separate labor. Can I install new equipment while keeping my existing ductwork? Often, yes — if the ductwork is sized correctly and in good condition. Reusing sound ductwork saves real installation cost and time, but it has to be evaluated first, not assumed compatible. New equipment moves different airflow than old equipment did, and duct sizing has to match. Are there rebates or incentives for installing energy-efficient commercial HVAC in Virginia? Utility rebate programs for high-efficiency commercial equipment exist and change frequently by provider. Some federal tax provisions may also apply to qualifying installations — ask your contractor what's currently available. Confirm any tax-related details with a qualified tax professional before relying on a specific number. What happens to the old equipment and refrigerant during installation? Old refrigerant has to be recovered, not vented — that's federal law under EPA Section 608 . A licensed technician evacuates it into a recovery cylinder for reclamation or proper disposal. Ask your contractor how they handle disposal of the old unit itself, not just the refrigerant. Does a new installation come with any maintenance built in? Many commercial contractors bundle free scheduled preventive maintenance into a new installation for the first year. That visit catches early adjustment issues before they become service calls. Ask whether that's included, and get the schedule in writing. Conclusion: Installation Done Right, Once A commercial HVAC installation done right should need minimal attention for the next decade or more. Get the load calculation right, choose suitable equipment, verify licensing, and commission the system properly. Skip any one of those steps, and you inherit someone else's mistake for the life of the equipment. VA Commercial Repair Solutions has installed commercial HVAC, refrigeration, and kitchen equipment systems across central Virginia for over 17 years. Every installation includes a free estimate, a full year of free labor, and warranty registration handled on your behalf. Class A licensed, S.W.A.M. and eVA certified, and reachable by a live person 24/7 — never voicemail. Request a free installation quote and get the load calculation started.