
How To Fix & Repair Your AC Coil
A failed AC coil stops cooling fast. The system keeps running, drawing power, cycling on and off — but the air coming through the vents is warm. In a commercial facility, that's a revenue problem within hours.
Most AC coil problems have a diagnosable cause. The repairs fall into two categories: DIY work you can do safely, and work requiring a licensed technician with EPA certification. Mixing them up costs time and money.
This guide covers both. Work through the steps in order. The most common causes — dirty coils, frozen coils, clogged drains — come first. The more technical repairs and replacement decisions come later.
What Is an AC Coil and Why Does It Fail?
Your AC system has two coils. Understanding which one has failed changes how you approach the repair.
The evaporator coil sits inside the indoor air handler. Refrigerant flows through it and absorbs heat from the air passing over it. That's how the system cools your space — not by injecting cold air, but by extracting heat.
The condenser coil is in the outdoor unit. It's where the refrigerant releases the heat it absorbed inside. A fan forces air over the condenser coil to reject that heat into the outdoor air.
Both coils fail for the same basic reasons: restricted airflow, refrigerant loss, physical damage, or biological contamination. The symptoms differ by coil type. The diagnostic logic is the same — rule out simple causes before assuming the worst.
The four main coil problems
Dirty coils are the most common commercial AC failure. A coated evaporator coil can't absorb heat efficiently. A dirty condenser coil can't reject it. Both cause the same result: reduced cooling capacity, longer run times, and rising energy costs.
Frozen coils occur when the evaporator coil drops below 32°F. That happens when airflow is too restricted to warm the refrigerant passing through the coil. The coil ices over, blocks airflow further, and the system eventually stops cooling entirely.
Refrigerant leaks cause gradual cooling loss. The system runs but output drops progressively. Left unaddressed, low refrigerant starves the compressor and causes far more expensive damage. Leaks require a licensed technician.
Bent or damaged fins reduce airflow across the coil surface. Fin damage is common in outdoor condenser coils exposed to debris, hail, or careless maintenance. Straightening bent fins is a DIY repair. Physical coil damage is not.
Step 1: Shut Down the System Before Any Inspection
Always turn off the AC at the thermostat before inspecting either coil. Then locate the disconnect switch — the metal box near the outdoor condenser unit — and switch it off. The thermostat setting cuts the cooling cycle, but it doesn't cut power to the unit.
The disconnect switch removes power from the compressor and condenser fan motor. This is the step most people skip. Skipping it creates shock risk when touching components inside the unit.
For the indoor air handler, locate and trip the circuit breaker feeding it before opening any access panels. Confirm power is off by checking for running fans or lights on the unit's control board.
Step 2: Thaw a Frozen Evaporator Coil
If the evaporator coil is iced over, start here before any other repair. Running the system on a frozen coil forces the compressor against excessive head pressure. That causes compressor failure.
Do not chip, pry, or blast ice off the coil. Evaporator fins are thin aluminum. Physical contact with ice-covered fins bends them. A bent fin reduces airflow — making the same problem more likely to recur.
Turn the system fan to "On" at the thermostat. This runs the blower without the compressor, circulating room-temperature air across the frozen coil. Depending on the amount of ice, full thaw takes 1 to 4 hours. Have towels and a bucket ready — the condensate pan may overflow as the ice melts.
Once the coil is fully thawed, identify the root cause before restarting. Freeze-up causes: clogged air filter, restricted return airflow, dirty evaporator coil, or low refrigerant charge. The first three are DIY checks. The last requires a licensed technician.
Step 3: Replace the Air Filter
Do this before cleaning any coil. A clogged air filter is the most common preventable cause of both frozen coils and reduced cooling performance.
Remove the filter and hold it up to a light source. If you can't see light through the filter medium, it's restricting airflow. Replace it immediately. In commercial facilities — restaurants, manufacturing spaces, hotels — filters clog far faster than manufacturer schedules assume.
Also check whether the filter has collapsed or pulled away from its frame. A filter that's bypassed lets debris land directly on the evaporator coil surface. If you see a clean filter but a dirty coil, a past filter bypass is likely the reason.
For commercial systems with multiple return air paths, check every filter in the system. A single clogged filter in a multi-zone system restricts enough airflow to affect the entire cooling capacity.
Step 4: Clean the Evaporator Coil
A dirty evaporator coil is the second-most common commercial AC problem after filter neglect. The coil picks up dust, grease, and biological growth over time. A coated coil surface can't transfer heat effectively — output drops while run time and energy costs climb.
What you'll need:
- Soft-bristle brush
- No-rinse commercial coil cleaner (foaming type)
- Flashlight
- Nitrile gloves and eye protection — coil cleaners are caustic
Step-by-step:
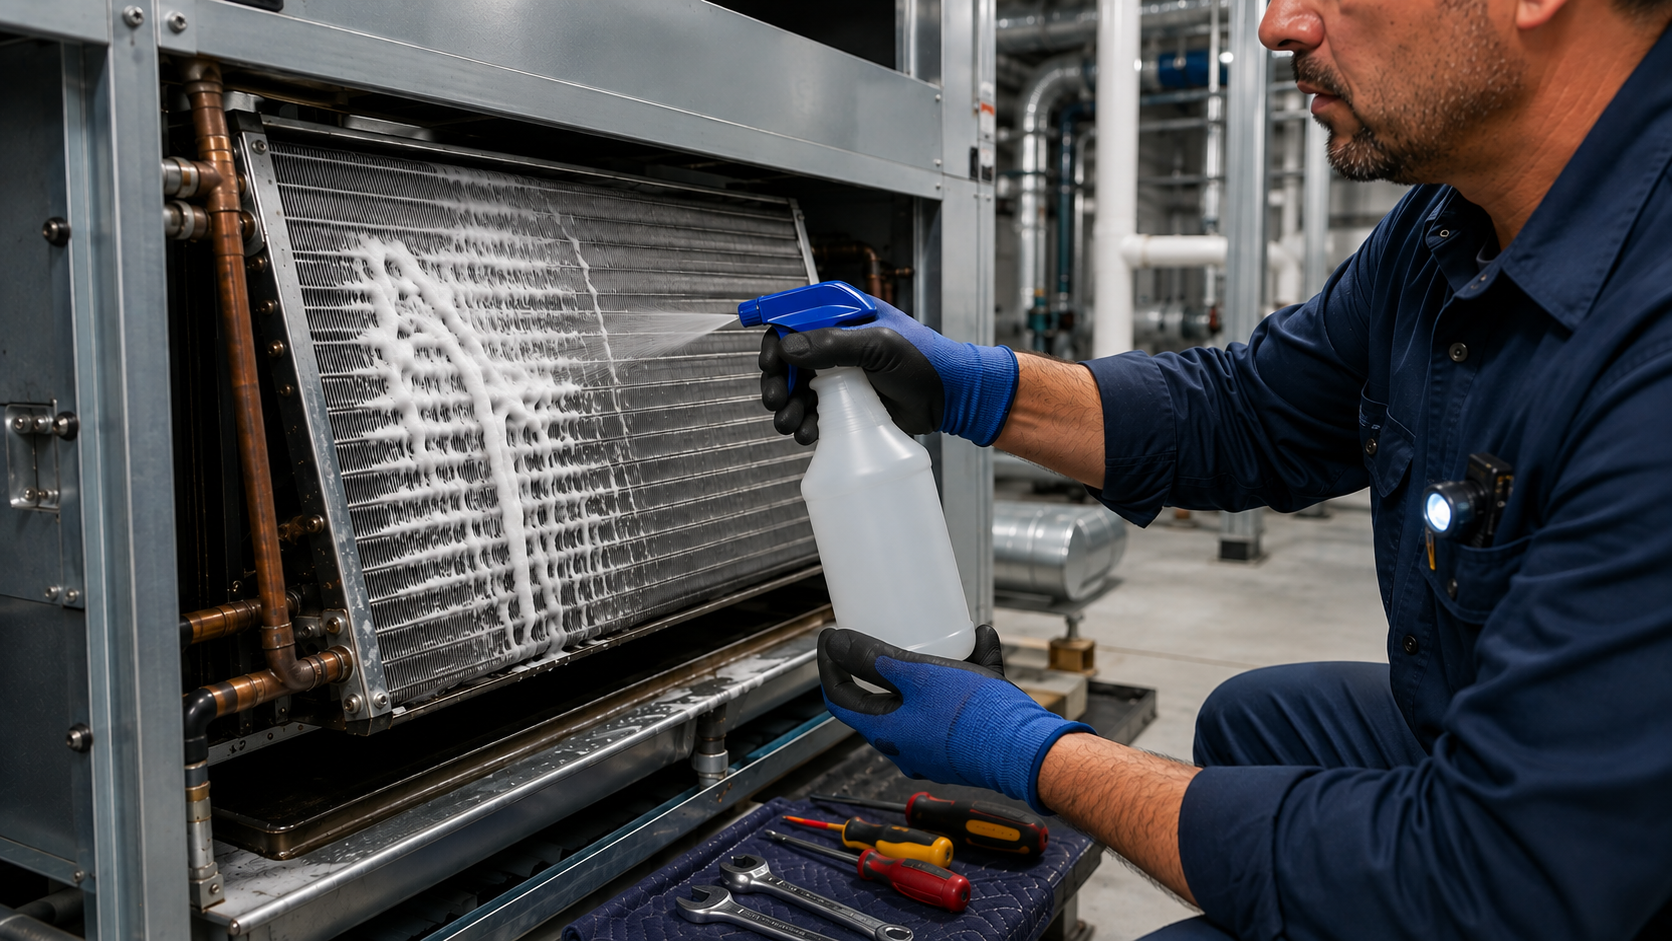
Turn off power to the air handler and open the access panel to the evaporator coil. Use the flashlight to assess the coil surface. Look for visible dirt coating, biological growth (dark or discolored patches), and ice (if the coil just thawed and is now accessible).
Spray the no-rinse coil cleaner evenly across the coil face. Let it dwell for the time specified on the product label — typically 10 to 20 minutes. The foaming action lifts debris. No-rinse formulas drain off through the condensate drain line on their own.
Use the soft-bristle brush to loosen stubborn surface buildup. Always brush parallel to the fins — never across them. Pressure applied across the fins bends them and permanently reduces airflow.
Inspect the condensate drain pan at the same time. Standing water in the pan means the drain line is blocked — address that in Step 6.
What not to do: Never use a pressure washer on the evaporator coil. The fins are thin aluminum and deform under direct water pressure. Household cleaning sprays (bleach, all-purpose cleaners) leave residues that accelerate coil corrosion. Use products designed specifically for AC coils.
Step 5: Clean the Condenser Coil
The outdoor condenser coil rejects heat from the refrigerant circuit. A dirty condenser forces the compressor to work against higher head pressure. That reduces efficiency, increases power consumption, and shortens compressor life.
Before cleaning, confirm the disconnect switch is off. Remove any debris from around the unit — leaves, cottonwood seeds, dirt compacted against the fins, or vegetation growing into the coil face. Maintain at least 24 inches of clear space on all sides of the outdoor unit.
Cleaning the condenser coil:
Remove the top grill (on most residential and light commercial condensers). Set it aside carefully — the condenser fan is typically attached. Access the coil from the inside face where possible. Cleaning from inside out pushes debris outward rather than deeper into the fin surface.
Apply a commercial condenser coil cleaner to the fin surface. Let it dwell per the product directions. For lightly soiled coils, a garden hose at low pressure rinses loosened debris through. Keep the spray angle parallel to the fins.
Use a fin comb to straighten any bent fins before rinsing. Insert the comb tines between fins and drag parallel to the fin direction. Move slowly. Aluminum fins are soft; they bend again under excessive force. Work in short sections.
What not to do: Never use a pressure washer on the condenser coil. Even at low settings, a pressure washer flattens aluminum fins across wide sections of the coil. That damage is permanent and reduces airflow through the coil for the life of the unit.
Step 6: Clear the Condensate Drain Line
A clogged condensate drain is one of the most frequent service complaints for commercial AC systems in Virginia's humid climate. Standing water in the condensate pan causes mold and biofilm growth, which eventually blocks the line further. When the pan overflows, water damages ceilings, equipment, and finished floors.
Locate the condensate drain access point — typically a cleanout cap or plug on the drain line near the air handler. Remove it and use a wet/dry vacuum at the drain outlet (the exterior discharge point) to pull the clog through.
If the vacuum doesn't clear the clog, flush with clean water from the access point. For recurring clogs, a slow-drip condensate pan treatment tablet (chlorine-based, available at HVAC supply houses) inhibits biological growth between service visits.
Check the drain line routing for sags or low points. Water pools at low points in improperly supported drain lines and becomes a chronic source of clogs. Support the drain line at regular intervals so it maintains a continuous slope to the discharge point.
A float switch sits in the condensate pan on most commercial units. When the pan reaches a set level, the float switch shuts the system off to prevent overflow. If your system is short-cycling with no other obvious cause, check the float switch position first.
Step 7: Straighten Bent Coil Fins
Bent fins reduce airflow across the coil surface — both condenser and evaporator. Hail, debris impact, and careless cleaning with a pressure washer are the most common causes. This is a DIY repair with the right tool.
A fin comb is a simple, inexpensive tool. It looks like a specialized comb with multiple sets of tines at different spacings. Match the tine spacing to the fins-per-inch (FPI) count on your coil — most residential and light commercial coils run 12 to 18 FPI. The coil spec is on the equipment nameplate.
Insert the correct tine set between fins and move the comb parallel to the fin direction. Don't twist or angle the comb — this bends fins in a new direction rather than straightening them. Work in small sections, inspecting the straightened area before moving on.
For condenser coils, straighten fins before cleaning. Crushed fins block airflow and make the cleaning process less effective.
When a Licensed Technician Is Required
The steps above cover the most common AC coil problems a commercial facility can address in-house. The following failures require a licensed HVAC technician. Do not attempt them without EPA Section 608 certification — refrigerant handling is federally regulated.
Refrigerant leak detection and repair
Low refrigerant charge is a common cause of progressive cooling loss. Symptoms: longer run times, reduced output, ice forming on the suction line or evaporator coil, and the system running without reaching setpoint.
EPA Section 608 requires a licensed technician to locate, repair, and recharge refrigerant leaks. Adding refrigerant to a leaking system without repairing the leak is illegal. Any technician who recommends recharge without finding and fixing the leak source should not be servicing your equipment.
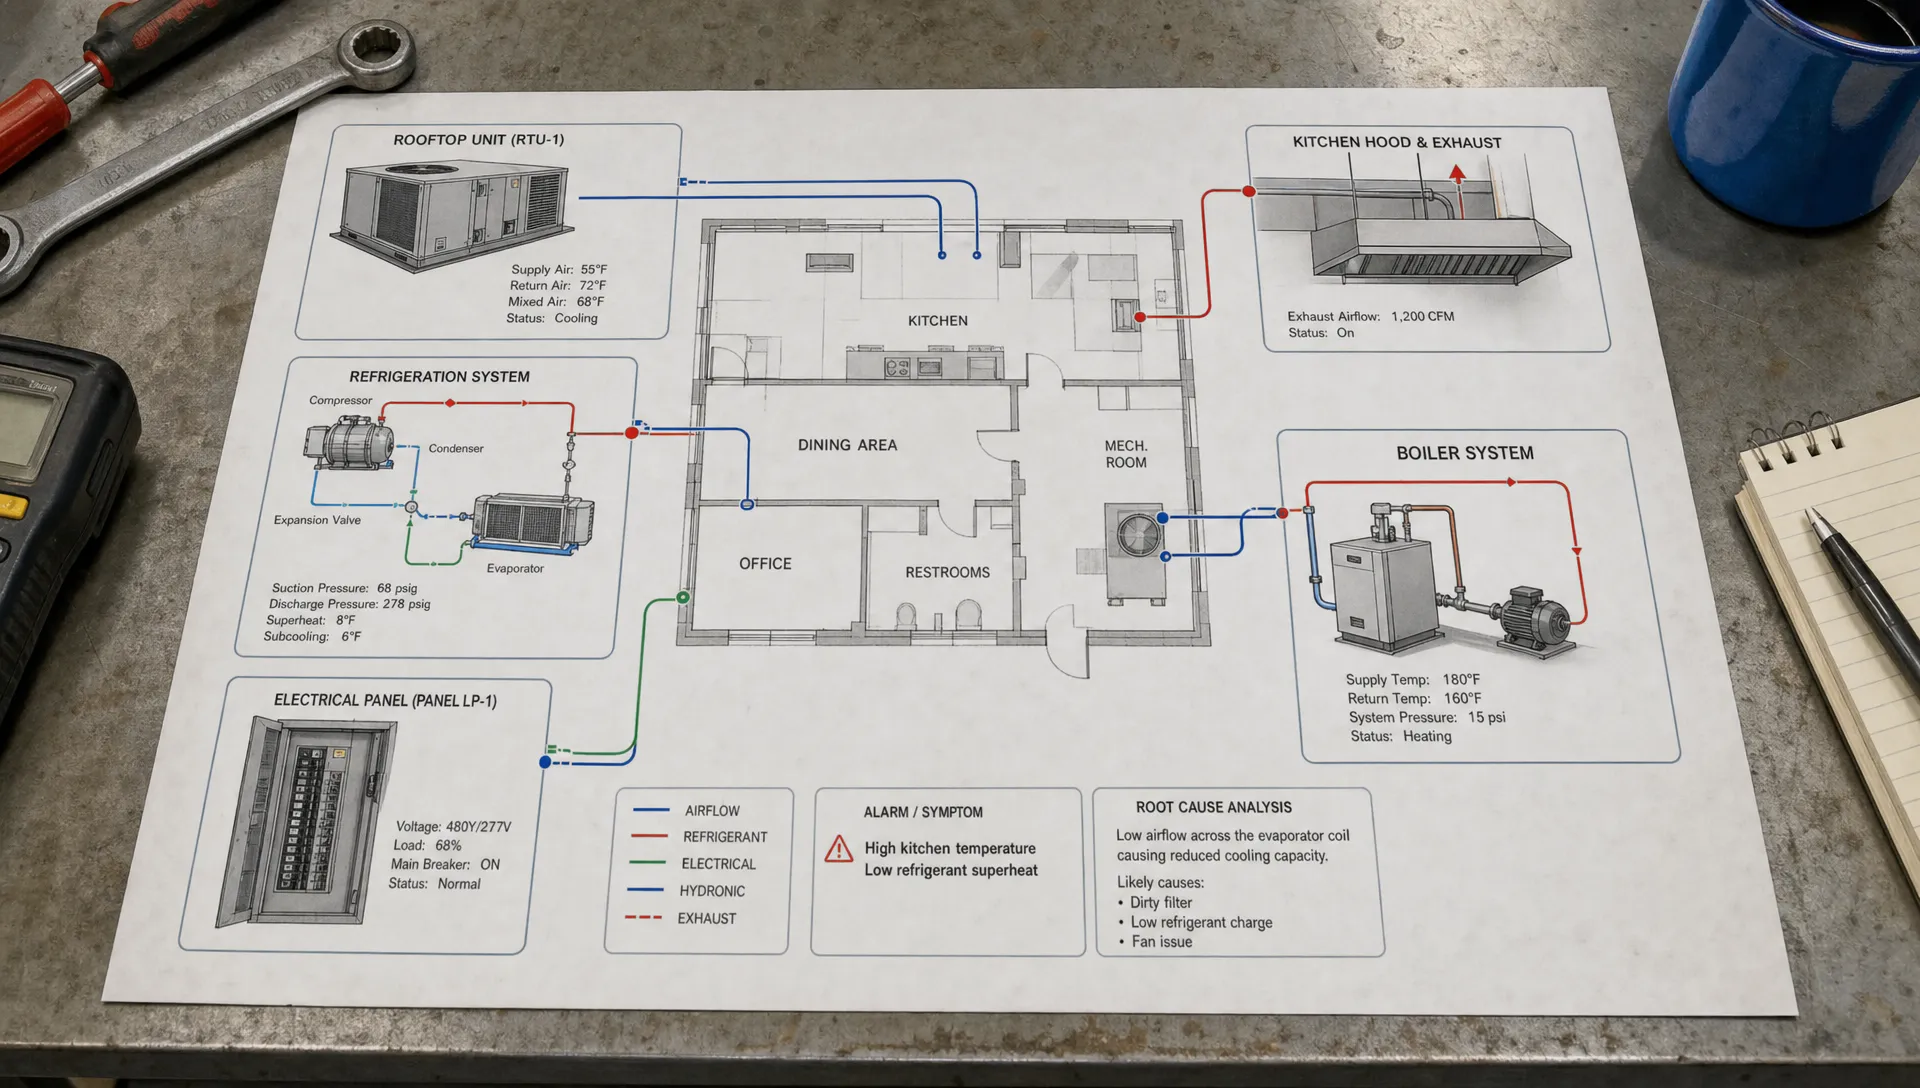
The technician will connect manifold gauges to the service ports and measure suction pressure, discharge pressure, superheat, and subcooling. Those readings are compared against manufacturer design specifications for your specific system and ambient conditions. Deviation from spec confirms whether the issue is low charge, overcharge, or a system restriction.
Copper coil leak repair (brazeable)
Copper coils can be repaired in the field at the leak point. The technician recovers the refrigerant charge and exposes the leak location. They prepare the copper surface and braze-seal the joint with the appropriate alloy. The system is then evacuated to remove moisture and non-condensables, and recharged to spec.
Brazing is an effective repair for single, identifiable leak points on copper coils. Leaks at flare fittings and service valve connections are often simpler still — a new fitting or valve can resolve the leak without brazing. But brazing requires proper technique. A poor brace joint fails within a single season.
Aluminum coil leaks — replacement required
Aluminum evaporator coils are common in modern commercial AC systems. They're lighter, less expensive to manufacture, and resist some forms of corrosion better than copper. But they cannot be repaired in the field the way copper coils can.
A refrigerant leak in an aluminum coil means coil replacement. Field brazing techniques that work on copper don't transfer reliably to aluminum. The material properties differ. Failed aluminum "repairs" typically return leaks within one cooling season. Any contractor claiming to permanently fix an aluminum coil leak in place should be pressed for a written guarantee.
When a technician shows evidence of an aluminum coil leak — detector reading, oily residue, confirmed low charge — trust the diagnosis. The repair is coil replacement.
Full coil replacement
Full evaporator or condenser coil replacement is necessary when the leak is too diffuse to localize (multiple pinhole leaks from formicary corrosion), the coil material is aluminum, or the physical damage is too extensive for surface repair.
A reputable contractor shows you the evidence before recommending replacement. Electric meter readings, refrigerant detector output, or digital photographs of the leak location are the standard. If a contractor recommends coil replacement without providing supporting evidence, ask for it.
Coil Repair vs. Replacement: Making the Right Call
The repair vs. replace decision on a failed AC coil comes down to three factors: coil material, leak severity, and equipment age.
| Situation | Repair or replace |
|---|---|
| Single copper coil leak at an accessible joint | Repair Brazing is cost-effective |
| Single copper coil leak at a fitting | Repair Fitting replacement is inexpensive |
| Aluminum coil leak (any location) | Replace Field repair is not reliable |
| Multiple or diffuse leaks (formicary corrosion) | Replace Individual leak repair doesn’t address the root cause |
| Coil older than 10 years with repeated leaks | Replace The economics favor a new coil |
| Physical coil damage (collapsed sections, debris puncture) | Replace Structural damage can’t be surface-patched |
The standard repair-vs.-replace benchmark in commercial HVAC: if repair costs exceed 50% of coil replacement on equipment older than 10 years, replacement is the better investment. For newer equipment with a single, localized failure, repair almost always wins.
A trustworthy HVAC contractor gives you both costs and lets you decide. Technicians paid by commission have a financial incentive to recommend replacement. Technicians paid hourly don't.
Formicary Corrosion: The Slow Coil Killer
Formicary corrosion deserves its own section because it's the most common cause of recurring evaporator coil leaks in commercial settings — and most facility managers don't know what it is until after the second or third refrigerant leak.
Formicary corrosion is a specific type of copper coil degradation caused by exposure to formic acid or acetic acid in the air. These compounds are found in cleaning products, adhesives, wood materials, paints, and some commercial kitchen environments. VOCs from these sources combine with moisture inside the coil. They form acids that attack the copper tubing walls from the inside out.
The result is tiny pinhole leaks — often dozens of them — distributed across the coil surface. Individual leak detection and brazing is impractical when leaks are this diffuse. According to ASHRAE, formicary corrosion is responsible for a significant portion of evaporator coil failures in commercial buildings and is not a repair scenario — it's a coil replacement scenario with attention to the source of VOCs to prevent recurrence.
If your commercial AC system has had multiple refrigerant leaks over several seasons with no clear single source, formicary corrosion is the likely diagnosis. Ask your technician to inspect the coil tubing under magnification before recommending another refrigerant charge.
Preventing the Next Coil Failure
Cleaning and inspection schedules prevent most commercial AC coil failures before they reach emergency status.
- Air filters: Replace on a schedule tied to your actual environment. Restaurants and manufacturing spaces need monthly checks at minimum. A standard office might need quarterly.
- Professional coil cleaning: Once per year for most commercial facilities. Kitchens and facilities near construction benefit from biannual cleaning. Cleaning cost is always less than compressor replacement cost.
- Condensate drain: Inspect and flush quarterly. A 15-minute task prevents a service call and potential ceiling or equipment damage.
- Condenser clearance: Check after every storm, after landscaping work, and before every cooling season. Debris against condenser fins is a preventable failure.
The U.S. Department of Energy estimates a well-maintained commercial HVAC system operates 15–40% more efficiently than a neglected one. The energy cost difference alone often justifies a preventive maintenance contract.
When to Stop and Call a Commercial HVAC Technician
Certain conditions require stopping work and calling a licensed contractor immediately — regardless of how far into a repair you are.
Call a commercial HVAC technician right away for any of the following:
- A hissing or bubbling sound near any refrigerant line
- A burning electrical odor from any unit component
- A system short-cycling without producing cooling
- A compressor that starts and immediately trips its thermal overload
Also stop and call a technician if you discover an aluminum coil leak. Do not attempt a field repair on an aluminum coil. Don't let a contractor who promises to "seal it" proceed without a written guarantee on the repair.
In central Virginia and the Shenandoah Valley, VA Commercial Repair Solutions is the right call. Live phone 24/7, Class A licensed for commercial HVAC and refrigeration, no voicemail.
Conclusion: Fix What You Can, Call a Pro for the Rest
Most commercial AC coil problems start simple. A dirty filter restricts airflow and freezes the coil. A fouled evaporator coil can't absorb heat. A clogged drain line floods the pan and trips the safety switch. These are all DIY repairs that don't require tools beyond a fin comb, a shop vacuum, and the right coil cleaner.
Refrigerant leaks and coil replacement decisions are a different category entirely. Federal law requires EPA certification for refrigerant handling. Aluminum coil leaks require coil replacement — not field repair, regardless of what a contractor claims. Copper coil repairs are viable at single, localized leak points, but only when a technician can confirm the leak source and provide evidence.
Know the difference. Work through the DIY steps before calling for service. When you do call, describe what you've already checked — it shortens the diagnosis and reduces your service cost.
Commercial AC coil failing? Contact VA Commercial Repair Solutions — live phone 24/7, Class A licensed commercial HVAC, and a repair-first policy with written guarantee if the equipment can't be fixed.